
Yes, you can froth milk at home without a frother using simple methods. For example, you can shake warm milk in a sealed jar vigorously for 30-60 seconds, then microwave it briefly to stabilize the foam. Alternatively, use a whisk or a French press to pump or whisk the milk until frothy. These techniques are quick, easy, and effective — keep going to discover more household tricks for perfect foam.
Key Takeaways
- Shaking milk in an airtight jar for 30-60 seconds creates foam without special tools.
- Whisking or manual pumping in a French press introduces air, frothing the milk effectively.
- Using a handheld milk frother quickly produces rich foam with warmed milk.
- Heating milk before manual agitation enhances frothing results.
- Simple household items like jars, bowls, and whisks make frothing easy at home.
Frothing milk at home doesn’t require a fancy frother; with a few simple tools and techniques, you can achieve creamy, frothy results just as good. The key is to focus on manual techniques and alternative tools that can create the desired foam without specialized equipment. One of the most straightforward methods involves using a jar. Fill a clean, airtight jar with the amount of milk you want to froth—don’t overfill, leaving some space for expansion—and screw the lid on tightly. Shake the jar vigorously for about 30 to 60 seconds until the milk doubles in volume and develops foam. Then, remove the lid and microwave the jar for about 30 seconds. The heat will stabilize the foam, giving you a smooth, creamy froth that’s perfect for your coffee. This simple technique is effective and requires no additional tools.
Use a jar to easily froth milk at home—shake, microwave, and enjoy perfect foam without special tools.
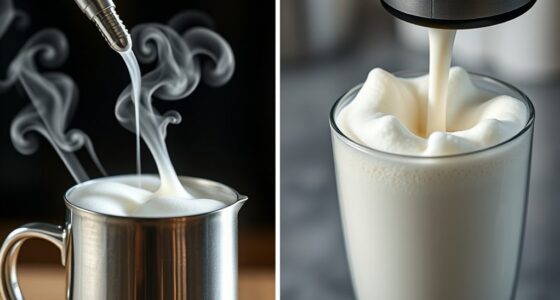
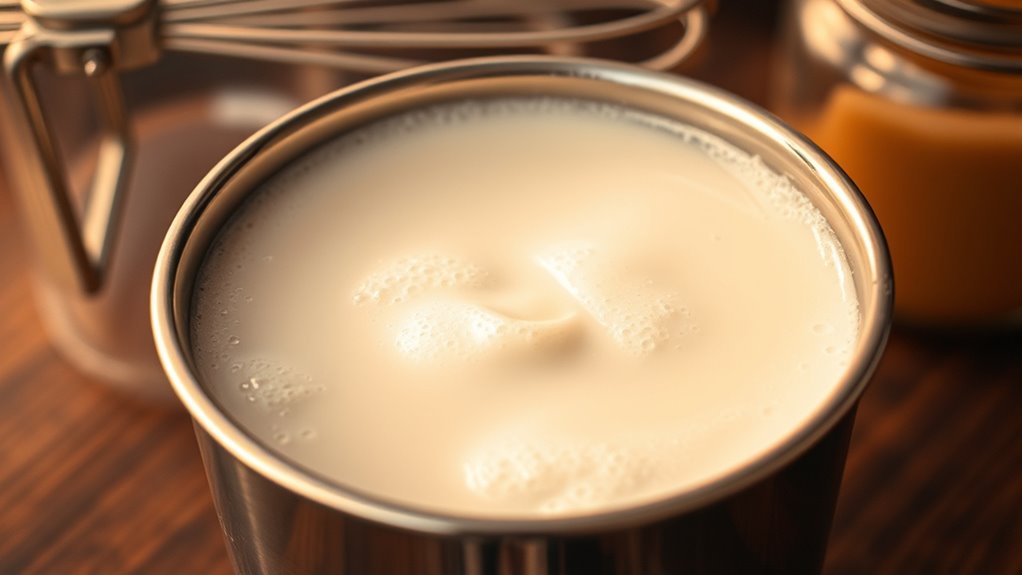
Another manual technique involves using a whisk or a fork. Heat your milk in a saucepan until it’s warm but not boiling. Pour the warm milk into a bowl and vigorously whisk it back and forth or whisk in circular motions. This action introduces air into the milk, creating froth. It may take a minute or two of steady whisking, but you’ll notice the milk thickening and forming foam. For even better results, you can use a handheld milk frother, which is a compact, affordable alternative tool. Simply warm your milk, then immerse the frother’s whisk into the milk and turn it on. Within seconds, you’ll have a rich, frothy milk ready for your favorite coffee drinks.
If you don’t have any specialized tools, a French press can be an excellent alternative. Pour warm milk into the French press, screw on the lid, and rapidly pump the plunger up and down for about 30 seconds. This motion forces air into the milk, creating a dense foam. Once you’re satisfied with the froth, remove the lid and gently pour the milk into your coffee or espresso. This method is not only effective but also easy to clean and store.
Additionally, using a manual agitation method like shaking or pumping is often more accessible and requires no electricity, making it perfect for quick, on-the-spot preparations. In all these cases, the secret lies in incorporating air into the milk through manual agitation or alternative tools. The temperature of the milk also plays a vital role—warm milk froths better than cold. With a little practice, you’ll discover which manual techniques or alternative tools suit your routine best. You don’t need a fancy frother to enjoy café-quality froth; simple household items and a bit of elbow grease will do the trick every time.
Top picks for "froth milk without"
Open Amazon search results for this keyword.
As an affiliate, we earn on qualifying purchases.
Frequently Asked Questions
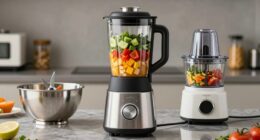
Can I Use a Blender to Froth Milk Effectively?
Yes, you can use a blender to froth milk effectively. Simply warm your milk to the ideal temperature (around 140°F), then pour it into the blender. Turn it on high for about 30-45 seconds until it’s frothy and creamy. For the best results, try alternative frothing techniques like shaking in a jar or using a whisk. Remember, milk temperature tips help prevent scorching and guarantee a rich, velvety froth.
How Long Does Manual Frothing Take?
With a manual technique, frothing usually takes about 30 to 60 seconds, depending on how much milk you’re frothing and your technique. You should see the milk double in size and develop a creamy, frothy texture. Keep moving the whisk or shaking the jar steadily to create consistent bubbles. The frothing duration is quick, but patience helps achieve the best foam, so don’t rush the process.
Is Warm Milk Better for Frothing?
Warm milk is better for frothing because temperature considerations influence the texture improvements you’ll see. When milk is warmed to around 140-150°F, it becomes easier to create a creamy, stable foam. Cold milk tends to be harder to froth and produces thinner foam, while too hot milk can scorch and collapse. So, warming your milk just right helps you achieve the perfect, velvety froth for your beverages.
Can I Use Alternative Milk Types for Frothing?
A bird in the hand is worth two in the bush. Yes, you can use alternative milk types for frothing. Plant-based alternatives like almond, soy, and oat milk froth well, often better than some dairy options, which can be heavier or more difficult to foam. Dairy vs non-dairy milk mainly depends on your preference and the frothing method; just make sure to choose options with a good fat and protein content for better foam.
Will Cold Milk Froth as Well as Warm Milk?
Cold milk can froth, but it usually doesn’t produce as much volume or froth stability compared to warm milk. Many people prefer warm milk because it offers better temperature preferences for frothing, resulting in creamier, longer-lasting foam. Warm milk’s increased temperature helps proteins stabilize the froth, making it easier to create and maintain a fluffy texture. If you want the best froth, warming your milk slightly is generally the better option.
Conclusion
So, next time you’re craving creamy, frothy milk but don’t have a frother, remember these simple tricks. For example, imagine trying to make a cappuccino at home—without fancy tools—you can still achieve that fluffy top using a jar or whisk. With a little effort and creativity, you can enjoy café-quality froth anytime. Don’t let lack of equipment hold you back—your perfect brew is just a few quick steps away!