
To clean your coffee maker with vinegar, start by gathering supplies like white vinegar, water, and a clean cloth. Empty and turn off the machine, then remove any filters and the carafe. Mix equal parts vinegar and water, then pour it into the water reservoir. Run a brew cycle, pause halfway, then complete it. Afterward, run several water cycles to rinse out the vinegar. For detailed steps, continue with the easy guide to keep your machine in top shape.
Key Takeaways
- Empty and turn off the coffee maker, then remove all components like the filter and carafe.
- Mix equal parts white vinegar and water, then pour into the water reservoir.
- Run a brew cycle, pausing halfway for a 15-minute soak, then complete the cycle.
- Rinse by running 2-3 cycles with fresh water to remove vinegar residue.
- Wipe external surfaces and clean internal parts with a damp cloth to maintain cleanliness.
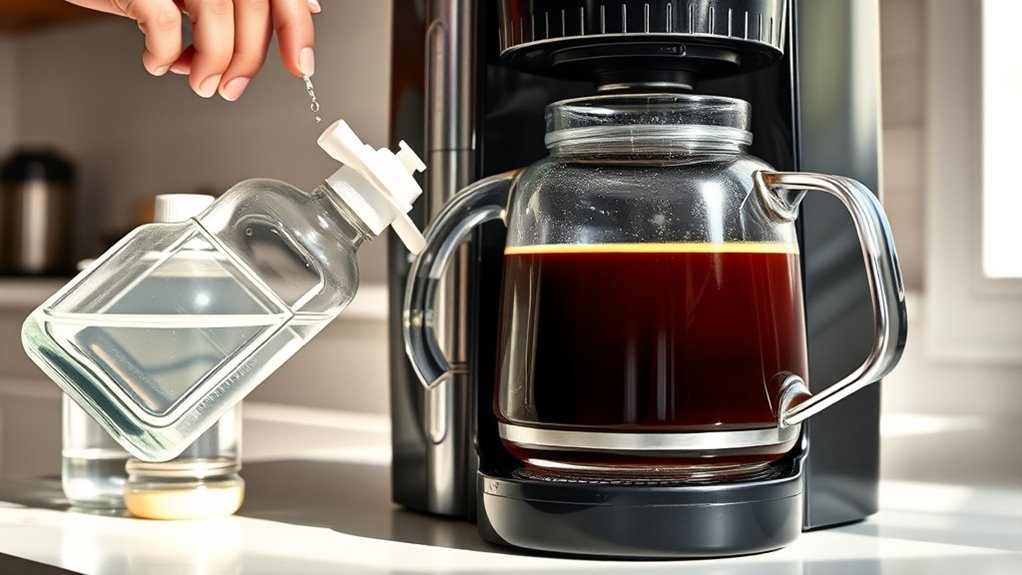
coffee maker cleaning vinegar
As an affiliate, we earn on qualifying purchases.
As an affiliate, we earn on qualifying purchases.
Gathering Your Supplies
Gathering Your Supplies
To effectively clean your coffee maker, start by gathering all the necessary supplies. You’ll need some white vinegar, water, a clean cloth, and a sponge. Make sure your coffee grounds are set aside if you plan to brew a fresh pot afterward. Check the water reservoir—it should be empty and accessible for cleaning. Remove any used coffee grounds from the basket and discard them. Having everything within reach makes the process smoother. If your machine has a filter, consider replacing or cleaning it as well. Ensuring you have all supplies ready before you begin saves time and prevents interruptions. Additionally, inspecting your air purifier maintenance can help you keep your appliances in top shape, ensuring a clean environment while you clean your coffee maker. Regularly tuning your vehicle can also prevent mechanical issues and improve overall performance, making your maintenance routine more effective. Remember that proper fire safety practices are essential if you’re working near heat sources or electrical components to prevent accidents. With these essentials gathered, you’ll be prepared to thoroughly clean your coffee maker and keep it functioning properly.
automatic coffee machine descaler
As an affiliate, we earn on qualifying purchases.
As an affiliate, we earn on qualifying purchases.
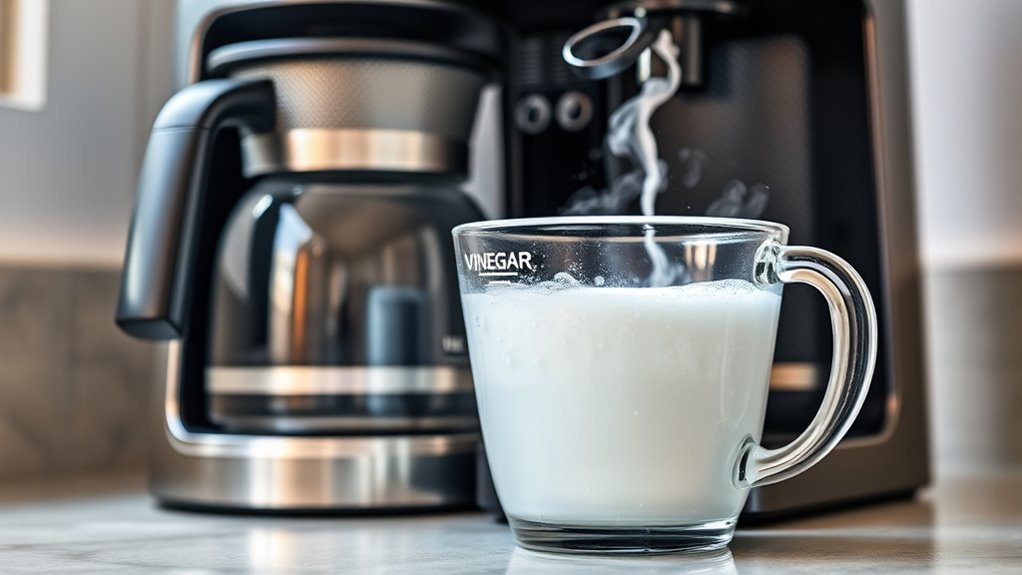
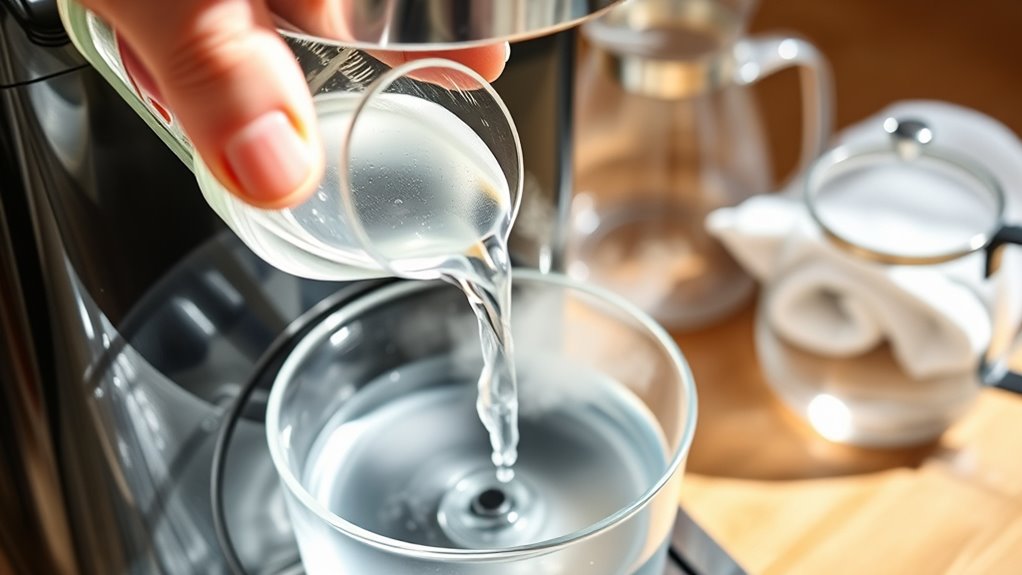
Preparing the Vinegar Solution

First, measure out the right amount of vinegar—typically one cup for a standard brew. Then, mix it thoroughly with water in a suitable container to guarantee even cleaning. Using the correct container prevents spills and makes the process smoother. Properly cleaning your coffee maker with vinegar helps maintain the appliance’s performance and longevity. Additionally, ensuring proper air circulation around your coffee maker can enhance cleaning effectiveness and prevent mold buildup. Regular cleaning also reduces the risk of bacterial growth, which can affect both the flavor and safety of your coffee. Maintaining good kitchen hygiene can further support your appliance’s optimal function.
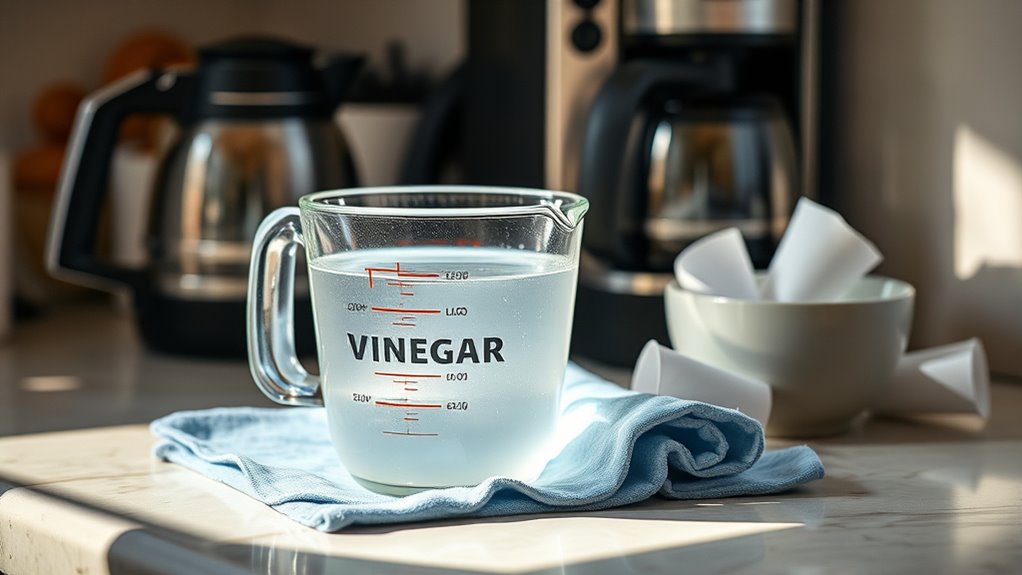
Measure Vinegar Properly
Measuring vinegar accurately is essential for creating an effective cleaning solution. Proper measuring precision ensures the right vinegar concentration, which is key to avoiding damage or ineffective cleaning. Use a standard measuring cup or spoon for consistency, and double-check your measurements before adding vinegar to the water. Remember, too much vinegar can harm your coffee maker’s parts, while too little might not clean thoroughly. For best results, stick to the recommended amounts, typically a 1:1 ratio of vinegar to water. Taking the time to measure carefully ensures you get the proper vinegar concentration, making your cleaning process both safe and effective. Accurate measurement prevents waste and guarantees your coffee maker gets the deep clean it needs.
Mix With Water Correctly
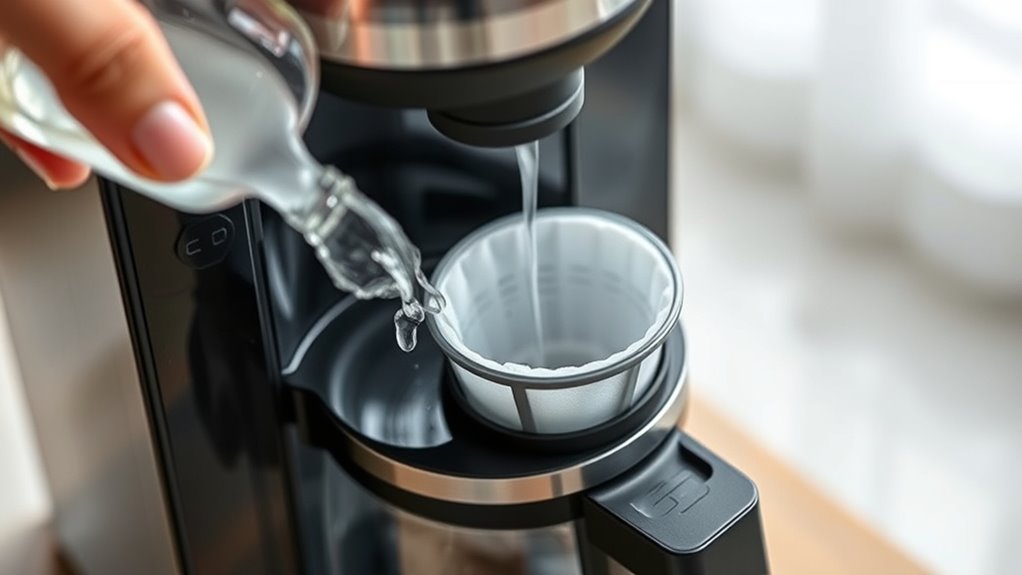
Mixing the vinegar with water correctly is vital for an effective cleaning solution. First, pay attention to water temperature; use warm water, not hot, to help dissolve the vinegar evenly. The right vinegar concentration is essential—typically, a mixture of one part vinegar to two parts water works well for cleaning. Avoid making the solution too strong, as high vinegar concentration can damage your coffee maker’s components. Fill your water reservoir with the prepared mixture, ensuring it’s well combined before running it through the machine. This guarantees the vinegar solution cleans all internal parts thoroughly. Proper mixing ensures preventing damage, promotes cleaning efficiency, and maximizes cleaning power while protecting your coffee maker’s integrity. Additionally, understanding home appliance maintenance can help extend the lifespan of your equipment. Incorporating regular cleaning routines using vinegar solutions is an effective way to keep your coffee maker functioning optimally. Regularly inspecting your coffee maker for wear and tear can also prevent unexpected malfunctions. Remember, proper mixing helps maximize cleaning power while protecting your coffee maker’s integrity. Follow these steps carefully for the best results.
Use Suitable Container
Choosing the right container to prepare your vinegar solution is key to guaranteeing an even mixture. Opt for a clean, non-reactive container like glass or stainless steel to avoid chemical reactions. Proper container selection helps prevent contamination and preserves safety precautions during cleaning. Before mixing, ensure the container is large enough to hold your vinegar and water, allowing space for thorough agitation. Consider the following:
| Container Type | Material | Safety Precautions |
|---|---|---|
| Glass | Non-reactive | Avoid cracks or chips |
| Stainless Steel | Durable | Keep away from acids |
| Plastic | Lightweight | Use food-grade plastic |
| Ceramic | Non-reactive | Ensure stability |
Using an appropriate container guarantees safety and effectiveness in your cleaning process. Additionally, selecting containers made from non-reactive materials ensures that no unwanted chemical interactions occur during the cleaning process. Being aware of chemical reactions helps prevent damage to your containers and maintains the integrity of your cleaning solution. Proper container choice is especially important when working with electric dirt bikes or other sensitive equipment, as improper materials could cause corrosion or damage.
coffee maker cleaning kit
As an affiliate, we earn on qualifying purchases.
As an affiliate, we earn on qualifying purchases.
Emptying the Coffee Maker
Before you start, make sure to turn off and unplug the coffee maker for safety. Remove all coffee components, like the filter basket and carafe, and dispose of any remaining coffee grounds or liquid. This step guarantees your machine is ready for cleaning and prevents any mess or accidents. For optimal results, consider regular maintenance practices to extend the lifespan of your coffee maker and ensure consistent brewing quality. Additionally, checking for any signs of residue buildup can help identify when a thorough cleaning is needed to maintain proper functioning. Maintaining a clean appliance can also help prevent infection or mold growth, ensuring better hygiene. Practicing mindful decluttering strategies can help in organizing your kitchen area, making cleaning more efficient and less stressful. Being aware of dream symbols related to water or cleanliness can also remind you of the importance of regular upkeep for your appliances.
Turn Off and Unplug
Once you’ve finished brewing, turn off your coffee maker and unplug it from the power outlet. This step is essential for safety precautions and electrical safety. Unplugging prevents any accidental activation or electrical hazards while you handle the machine. Before proceeding, verify the machine has cooled down if it’s been running for a while. Removing the plug also protects you from potential electrical shocks during cleaning. Always handle the coffee maker with dry hands to avoid static or moisture contact with electrical parts. By taking these precautions, you minimize risks and ensure a safe cleaning process. Remember, safety should always come first when working with any electrical appliance. Additionally, ensure the machine has cooled down sufficiently to prevent burns or damage. It’s also advisable to consult your manufacturer’s guidelines for specific cleaning instructions. Once unplugged and cooled, you’re ready to move on to the next step in cleaning your coffee maker effectively.
Remove Coffee Components
To begin removing coffee components, start by discarding any remaining coffee grounds and used filters from the brew basket. Next, carefully remove the coffee pot and pour out any leftover brew. Check the machine’s interior for coffee stains or mineral buildup, which can affect flavor and performance. Wipe down the brew basket and surrounding areas with a damp cloth to remove stuck-on residue. Removing these components helps prevent lingering coffee stains and mineral deposits from building up, ensuring your machine stays clean and functions efficiently. Be sure to also clear out any used filters or grounds to prevent mold or odors. Taking these steps prepares your coffee maker for a thorough cleaning with vinegar, keeping it in top shape for your next brew.
Dispose of Old Coffee
Emptying the old coffee from your machine is a quick and simple step that keeps it ready for the next brew. First, discard the used coffee grounds from the filter basket, making sure no grounds are left behind that could clog the brewing process. Pour out any remaining coffee from the carafe, and wipe it clean if needed. Removing old coffee prevents stale flavors from affecting your next cup and helps maintain the machine’s performance. If your machine has a permanent filter, rinse it well to remove any residual coffee grounds. Clearing out the old brew also reduces buildup inside the machine, making cleaning easier later. This small step ensures your coffee maker stays in good condition and ready for fresh, tasty coffee with every brew.
vinegar cleaning solution for coffee maker
As an affiliate, we earn on qualifying purchases.
As an affiliate, we earn on qualifying purchases.
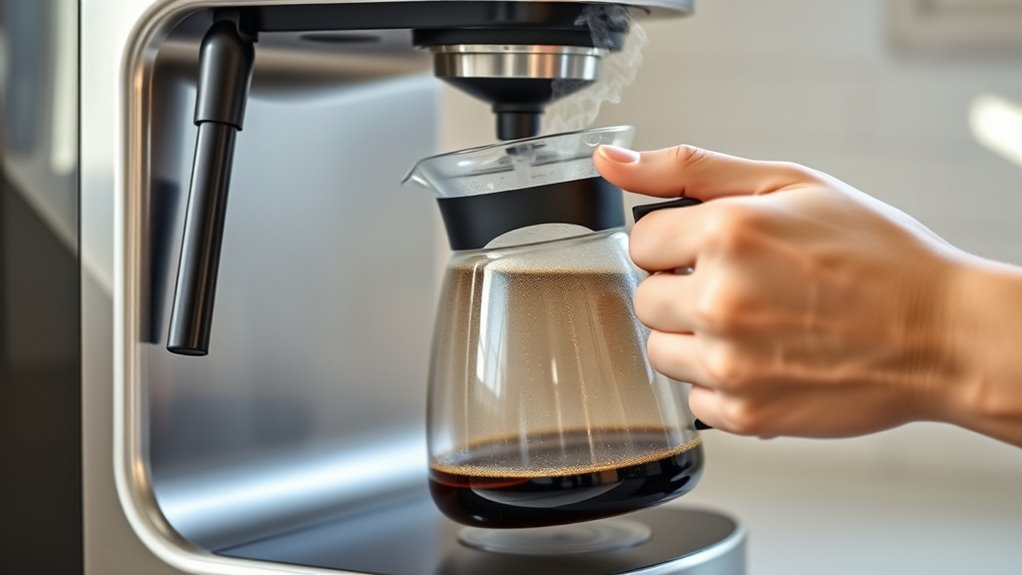
Running a Vinegar Cycle
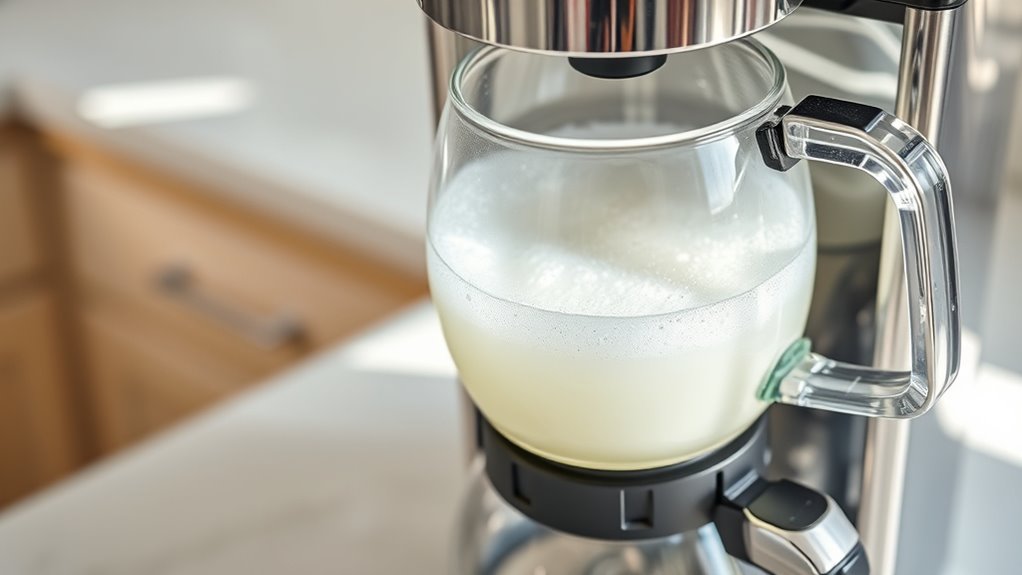
Starting a vinegar cycle is an effective way to remove mineral buildup and sanitize your coffee maker. Fill the water reservoir with equal parts white vinegar and water, then add a teaspoon of baking soda to boost cleaning power. Turn on the machine and let it run halfway through its brew cycle. Pause the process and let the vinegar solution sit for about 15 minutes to loosen deposits. Resume the cycle to finish brewing. This method is a simple descaling method that helps eliminate scale from mineral deposits. Running a vinegar cycle regularly keeps your coffee maker functioning properly and extends its lifespan. Afterward, you’ll want to rinse thoroughly to remove any vinegar taste, which you’ll do in the next step.
Rinsing the Machine
After running the vinegar solution, you should rinse the machine with clean water to remove any residue. Repeat this process with fresh water to guarantee all vinegar is flushed out. This step helps clear away leftover build-up and keeps your coffee tasting fresh.
Run Vinegar Solution
To effectively rinse your coffee maker, run a vinegar solution through the machine. This step guarantees thorough cleaning while maintaining vinegar safety. Using vinegar periodically helps prevent mineral buildup and extends your machine’s lifespan, but avoid overdoing it; cleaning frequency should be moderate to prevent damage. Here’s a quick guide:
| Step | Details |
|---|---|
| Prepare Vinegar Solution | Mix equal parts water and vinegar |
| Run the Cycle | Pour solution into reservoir, start brew cycle |
| Discard & Rinse | After brewing, discard solution and rinse with water |
Regular rinsing keeps your coffee maker in top shape, reduces residue, and ensures your coffee tastes fresh. Stick to recommended cleaning frequency for safe, effective results.
Repeat With Water
Once you’ve run the vinegar solution through your coffee maker, it’s important to rinse the machine thoroughly with water. This step guarantees no vinegar residue remains and that your machine is ready for use. Fill the water reservoir with clean water and start a new cleaning cycle. This water rinse helps flush out any lingering vinegar and buildup. Make sure to repeat this process at least twice to ensure a thorough clean. During the cleaning cycle, the water will pass through all the internal components, removing traces of vinegar and mineral deposits. Once the rinse is complete, discard the water and wipe down the machine’s exterior. Proper rinsing guarantees a fresh-tasting brew and keeps your coffee maker in top condition.
Clear Residue Effectively
Thorough rinsing is key to removing any remaining vinegar or mineral deposits that could affect your coffee’s flavor. Residue buildup from mineral deposits can linger and impact taste if not rinsed properly. To clear residue effectively, run fresh water through the machine several times, ensuring all vinegar traces are gone. Pay special attention to the coffee basket, water reservoir, and filters. This step flushes out any leftover mineral deposits that might cause clogs or affect brewing. If necessary, use a clean cloth to wipe down parts with stubborn buildup. Proper rinsing guarantees your coffee maker is clean, free of residue, and ready to brew fresh, great-tasting coffee without any vinegar aftertaste.
Running Multiple Water Cycles
Running multiple water cycles is an effective way to guarantee your coffee maker is thoroughly cleaned. After the vinegar soak, running several water cycles helps rinse out any residue and freshens the machine. Make certain the water temperature stays high enough to dissolve mineral buildup but doesn’t damage the machine. Use plain water for these cycles, and avoid adding ground coffee during this process. This approach helps remove lingering vinegar taste and mineral deposits that could affect future brews.
Running multiple hot water cycles thoroughly rinses your coffee maker and removes vinegar residue.
- Use hot water to maximize cleaning efficiency
- Run 2-3 cycles to ensure thorough rinsing
- Let the water fully drain between cycles
- Check for any leftover vinegar smell
- Repeat if necessary for stubborn buildup
Cleaning the Coffee Filter and Carafe

To keep your coffee tasting fresh, it’s important to regularly clean the filter and carafe. Start by removing the filter and rinsing it under warm water. If it’s stained or clogged, consider replacing the filter to guarantee optimal brewing. Wash the carafe with warm, soapy water, then scrub gently to remove any residue. For stubborn build-up, use descaling techniques like vinegar to break down mineral deposits inside the carafe and filter holder. Fill the carafe with equal parts vinegar and water, then run a brewing cycle without coffee. Afterward, rinse thoroughly with clean water. Regular cleaning prevents mold and build-up, ensuring each cup tastes its best while extending your coffee maker’s lifespan.
Wiping Down External Parts
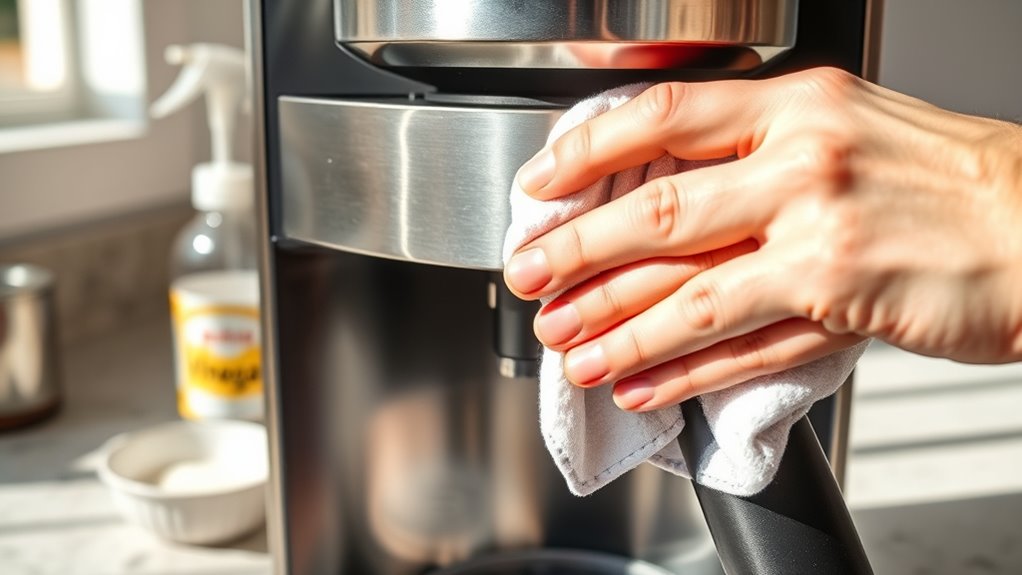
After cleaning the filter and carafe, it’s important to wipe down the exterior parts of your coffee maker to keep it looking and functioning its best. Cleaning exterior surfaces prevents dust, grease, and coffee splashes from building up. Use a damp cloth or soft sponge to gently wipe down the machine’s body, control panel, and handle. Pay attention to crevices and areas around buttons where dirt can accumulate. Avoid harsh chemicals that could damage the surface. Regular wiping down also helps maintain the appliance’s appearance. Remember to dry all surfaces with a clean cloth afterward to prevent water spots. This simple step ensures your coffee maker stays spotless and operates smoothly for every brew session.
- Wipe control panels and buttons
- Clean around the water reservoir
- Dust off the top and sides
- Wipe the power cord and plug
- Regularly buff with a dry cloth
Preventative Maintenance Tips
Implementing preventative maintenance for your coffee maker can prolong its lifespan and guarantee consistently great brews. Regular descaling techniques, such as running vinegar or commercial descalers through the machine, help prevent mineral buildup that can impair performance. Always use filtered water to reduce mineral deposits and extend the time between cleanings. Storage tips are also important: ensure your machine is completely dry before storing it away, and keep it in a cool, dry place to prevent mold and corrosion. Cover the machine or keep it in a dust-free environment to avoid debris accumulating inside. These simple steps keep your coffee maker functioning smoothly and help you avoid costly repairs or replacements. Proper preventative care ensures your coffee always tastes fresh and your machine lasts longer.
Regular Cleaning Schedule

Establishing a regular cleaning schedule for your coffee maker is essential to keep it brewing at its best. Consistent upkeep prevents the buildup of coffee grime and ensures peak performance. By sticking to a routine, you’ll reduce the need for intense descaling techniques later on.
Regular cleaning keeps your coffee maker performing its best and extends its lifespan.
- Clean the filter basket and carafe weekly
- Run a vinegar cycle every 1-2 months
- Wipe down external surfaces after each use
- Check and replace filters as recommended
- Use descaling techniques regularly to prevent mineral buildup
These steps help maintain a clean machine and improve coffee flavor. Regular cleaning not only extends your coffee maker’s lifespan but also keeps your brews tasting fresh and free of residues.
Frequently Asked Questions
Can Vinegar Damage My Coffee Maker’s Components?
Vinegar safety depends on proper use; when used correctly, it won’t damage your coffee maker’s components. Vinegar is a natural cleaner that helps remove mineral buildup without harming parts if diluted properly. Regular cleaning with vinegar can actually extend your coffee maker’s component longevity. Just make certain you rinse thoroughly afterward to remove any vinegar residue, preventing potential damage and keeping your machine in top shape.
How Often Should I Deep Clean My Coffee Machine?
You should follow a maintenance schedule of deep cleaning your coffee maker every 1 to 3 months, depending on usage. Regular cleaning frequency helps prevent mineral buildup and guarantees your coffee tastes fresh. If you brew several cups daily, consider cleaning more often. Consistent maintenance keeps your machine running smoothly, prolongs its lifespan, and maintains ideal flavor. Adjust your cleaning schedule based on your brewing habits for the best results.
Is It Safe to Use Other Cleaning Agents Instead of Vinegar?
Using alternative cleaning agents can be safe, but it’s not always recommended. Did you know that vinegar is effective at removing 82% of mineral deposits? When considering alternative agents, verify they’re food-safe and capable of chemical residue removal. Some commercial cleaners may contain harsh chemicals, risking residue buildup and affecting your coffee’s taste. Always check manufacturer guidelines and opt for proven methods to keep your machine clean and safe.
Will Vinegar Affect the Taste of My Coffee Afterward?
Vinegar taste can linger in your coffee maker, potentially affecting your coffee flavor. To prevent this, run a thorough rinse cycle with water after cleaning with vinegar. You might also brew a few cups of plain water to flush out any residual vinegar taste. This way, your coffee will taste fresh and pure, without any vinegar flavor interfering with the rich aroma and flavor you enjoy.
Are There Specific Types of Vinegar Recommended for Cleaning?
You’ll want to use white distilled vinegar for cleaning, as it’s the most effective and won’t leave unwanted residues. Other vinegar types, like apple cider or flavored varieties, might seem tempting, but they can affect cleaning effectiveness and leave behind flavors. Sticking to plain white vinegar guarantees thorough cleaning, preserves your coffee maker’s performance, and keeps your brew tasting fresh without any lingering vinegar taste.
Conclusion
By regularly cleaning your coffee maker with vinegar, you keep it running smoothly, prevent buildup, and enjoy fresh-tasting coffee every time. By following simple steps, maintaining routine, and staying consistent, you guarantee your machine’s longevity, improve its performance, and save money on repairs. Cleaning your coffee maker with vinegar becomes a quick, easy task—protecting your investment, enhancing your mornings, and savoring every sip. Keep it clean, keep it simple, and keep enjoying your perfect brew.