To keep your blender smelling fresh, start by disassembling it and rinsing all parts with warm, soapy water. Use a mixture of baking soda and vinegar to soak the components, especially the blades and hard-to-reach areas, to remove odors and residues. Rinse everything thoroughly, dry all parts completely to prevent mold, and reassemble. Regular maintenance with these steps will help keep your blender clean and fresh. Keep going to discover more tips for a spotless, odor-free blender.
Key Takeaways
- Disassemble the blender and rinse all parts immediately after use to remove residue and prevent odors.
- Soak all components in a vinegar and baking soda solution for 15-30 minutes to eliminate stains and smells.
- Use small brushes or toothbrushes to thoroughly clean around blades and tight crevices.
- Dry each part completely with a clean towel or microfiber cloth to prevent mold and lingering odors.
- Regularly perform deep cleaning and air dry all components for long-term freshness and hygiene.

XANGNIER 7 Pcs Personal Blender Cleaning Brush Set for Portable/Smoothie/Small/Mini and All Personal Blenders – Non-Scratch Personal Blender Cleaning Tool Deep Clean Cups,Blades,Lids & Seals
✅【Deep Clean for Every Personal & Portable Blender】From protein shake blenders to travel-size smoothie machines, this 7-piece kit…
As an affiliate, we earn on qualifying purchases.
As an affiliate, we earn on qualifying purchases.
Gather Your Cleaning Supplies
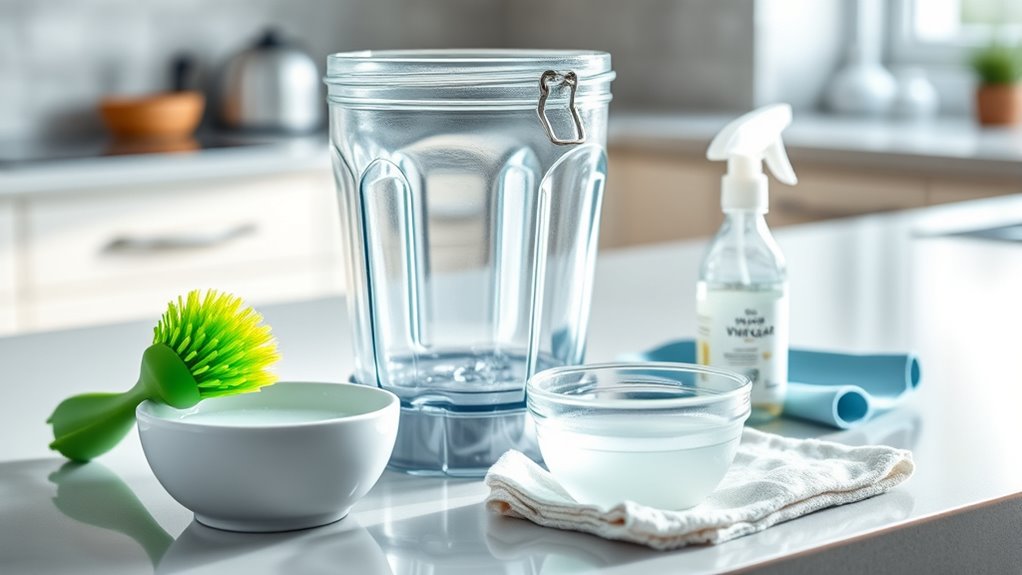
Before you begin cleaning your blender, gather all the supplies you’ll need. Start with cleaning brushes designed for narrow or hard-to-reach spots, which make scrubbing easier and more effective. You’ll also want a soft sponge or cloth to wipe down the exterior. Keep a clean towel nearby for drying parts thoroughly. To maintain your blender’s longevity, consider storage tips that prevent mold and odors, like keeping the lid slightly ajar after cleaning. Having these supplies ready saves time and ensures you don’t forget anything mid-cleaning. Make sure your brushes are clean and suitable for your blender’s material to avoid scratches. With everything in place, you’re set to clean your blender efficiently and keep it smelling fresh.

Silicone Makeup Sponge (2-Pack) – Reusable, Non-Absorbent Beauty Blender & Foundation Sponge Puff for Liquid, Cream, Powder – Latex-Free, Easy Clean
✨ Zero Absorption, Maximum Savings Non-porous silicone surface prevents product sinking, saving up to 30% foundation/cream – unlike…
As an affiliate, we earn on qualifying purchases.
As an affiliate, we earn on qualifying purchases.
Disassemble and Rinse Your Blender

Disassembling your blender is an essential step to guarantee a thorough clean. Carefully take apart the blender assembly by removing the blender jar from the base and detaching the blades if possible. Use proper disassembly techniques to avoid damaging parts or misplacing small components. Rinse each piece immediately after disassembly to remove any residue or food debris. Pay special attention to the lid, gasket, and blade assembly, which tend to trap grime. Use warm water and a little dish soap to rinse thoroughly, ensuring all food particles are washed away. This step not only helps with cleaning but also prevents lingering odors. Proper disassembly and rinsing make deep cleaning more effective. Additionally, understanding how home theatre projectors function can help you identify areas that might retain dust or residue, making your cleaning even more comprehensive. Regularly inspecting and maintaining the air quality of your kitchen environment can also contribute to fresher, cleaner air in your home. Once rinsed, set the parts aside to dry or proceed with your preferred cleaning method. Incorporating water circulation techniques during rinsing can further enhance the removal of stubborn residues.

It's Just – Baking Soda, 100% Pure Sodium Bicarbonate, Food Grade, Non-GMO, Made in USA, Cooking, Baking (1.25 Pound)
100% Sodium Bicarbonate / It's just pure sodium bicarbonate with no additives and no fillers. Combine with citric…
As an affiliate, we earn on qualifying purchases.
As an affiliate, we earn on qualifying purchases.
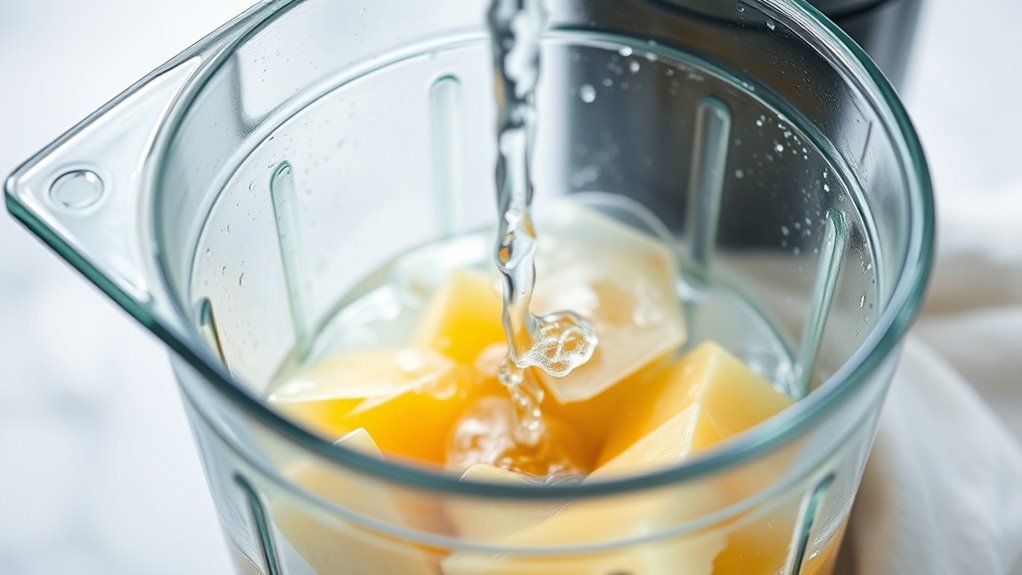
Use a Baking Soda and Vinegar Solution

After rinsing the individual parts, you can tackle stubborn stains and lingering odors using a baking soda and vinegar solution. Start by removing the blender blade to prevent damage and make cleaning easier. In a separate container, mix equal parts white vinegar and warm water, then add a few tablespoons of baking soda. Submerge the blender parts, especially the jar, in this solution and let it soak for 15-30 minutes. The vinegar soak helps break down residue and neutralize odors, while baking soda acts as a gentle abrasive. Incorporating professional equipment such as soft brushes or sponges can improve your cleaning results. After soaking, scrub any remaining stains with a soft brush or sponge. Rinse everything thoroughly with warm water, ensuring no residue remains. This method effectively cleans your blender and keeps it smelling fresh.

Haosie Blender Open Wrench Tool, Stainless Steel Mixing Cup Blade Wrench, Blender Blade Fixed Replacement, Disassemble The Blade from Jar Mixer Accessories
【Multifunction】Blender blade opening tool, can be used to remove fixing plates and blade assembly, save labor, suitable for…
As an affiliate, we earn on qualifying purchases.
As an affiliate, we earn on qualifying purchases.
Clean the Blades and Hard-to-Reach Areas

Removing the blades safely is your first step, so use a method that keeps your fingers away from sharp edges. Once removed, scrub the hard-to-reach edges thoroughly to eliminate residue. Don’t forget to disinfect all crevices to prevent bacteria buildup and keep your blender hygienic. Additionally, paying attention to cleaning techniques ensures all components are properly sanitized and maintained. Regularly inspecting for bacterial growth helps prevent odors and maintains optimal cleanliness. Incorporating proper hygienic practices reduces the risk of lingering smells and ensures your blender stays fresh over time. Being aware of divorce-related financial issues can also help you understand how to manage your personal space and belongings after cleaning your kitchen. Proper kitchen hygiene is essential for preventing unwanted odors and maintaining a healthy environment.
Safe Blade Removal Methods
To safely clean the blades and hard-to-reach areas of your blender, it’s important to handle them carefully to prevent injury or damage. Use proper removal techniques to guarantee blade safety and avoid accidents. First, unplug your blender to eliminate electrical hazards. Second, carefully hold the blade assembly with a thick towel or rubber gloves for grip. Third, apply gentle twisting or lifting motions to detach the blades from the jar. Fourth, inspect the blades for any damage before cleaning. These steps help prevent cuts and ensure the blades come out smoothly. Always prioritize safety by avoiding force or sharp objects. Additionally, understanding the impact of natural language processing (NLP) can help in improving your customer service interactions. Remember, proper removal techniques make cleaning easier and safer, protecting both you and your appliance. Proper handling can also prevent damage to the blades, extending their lifespan and maintaining optimal performance. Furthermore, being aware of regional legal resources can be beneficial if you encounter any issues with appliance warranties or repairs. Being cautious during removal can also prevent unnecessary blade damage, which might otherwise require replacement.
Scrubbing Hard Edges
When cleaning the blades and hard-to-reach areas of your blender, focus on scrubbing away stubborn residue and debris. Use a small brush or sponge to target scrubbing hard edges where food particles tend to hide. Pay special attention to the area around the blades, as residue can cling tightly and cause odors if left uncleaned. For removing stubborn stains, apply a bit of dish soap directly to a brush and scrub firmly. Be thorough but careful, ensuring you reach into tight corners and crevices. Rinse well with warm water afterward. Proper scrubbing helps eliminate buildup that can cause unpleasant smells and ensures your blender remains hygienic and ready for the next use. Additionally, understanding the importance of regular maintenance can help in maintaining a healthy environment, much like keeping your blender clean prevents lingering odors.
Disinfecting Crevices
Since residue can hide in the tiniest crevices around the blades and hard-to-reach areas, disinfecting these spots is essential for thorough cleaning. Use a sanitize sponge to carefully clean the blades and surrounding crevices, ensuring you reach every nook. For the hard-to-access spots, gently scrub with a small brush or toothbrush soaked in disinfectant. Don’t forget to disinfect the handle and any removable parts, which can harbor bacteria and odors. To maximize effectiveness, follow these steps: 1. Remove blades and parts for detailed cleaning. 2. Use a sanitize sponge on the blades and crevices. 3. Carefully scrub hard-to-reach areas with a brush. 4. Wipe all surfaces with a disinfect handle or cloth. Regularly inspecting for air purifier maintenance can help prevent future issues and keep your appliance safe from contamination. A thorough cleaning process can also help eliminate bacteria buildup that might cause lingering smells. Understanding automation in business can assist in streamlining your cleaning routines and scheduling regular maintenance. Being aware of proper disinfection techniques can further enhance your cleaning routine. This approach guarantees your blender stays spotless and odor-free.
Rinse Thoroughly and Dry Completely
Make sure to rinse your blender until the water runs clear, removing any remaining soap or residue. Then, dry it thoroughly with a clean towel to prevent water spots and rust. Taking these steps guarantees your blender stays clean and ready for next time.
Rinse Until Clear
After rinsing out the blender, it’s important to continue until the water runs clear, ensuring all residue and soap are fully removed. This prevents any lingering food particles or cleaning agents from causing odors or buildup. Use your cleaning tools effectively to reach all surfaces, especially around the blade area. Remember, thorough rinsing helps preserve your blender’s longevity and keeps it smelling fresh. Proper rinsing and preventing odors are essential for maintaining a clean and safe appliance.
Dry With Towel
To guarantee your blender stays in top condition, thoroughly rinse it to remove any remaining soap or residue, then dry each part completely with a clean towel. Pay special attention to blender accessories like lids, gaskets, and blades, ensuring no moisture is trapped. Proper drying prevents mold and bad odors from developing, especially if you have a busy cleaning schedule. Use a microfiber cloth or paper towels to absorb moisture from all surfaces. Make sure every component is fully dry before reassembling. This step not only prolongs your blender’s lifespan but also keeps it smelling fresh. Regularly drying your blender after cleaning helps maintain its performance and reduces the chances of lingering odors caused by residual moisture.
Maintain Freshness With Regular Cleaning Practices

Regular cleaning is essential for maintaining your blender’s freshness and performance. Consistent upkeep prevents odors and keeps it functioning smoothly. To guarantee proper blender maintenance and odor prevention, consider these practices:
Regular cleaning keeps your blender fresh and odors at bay.
- Clean immediately after use to prevent residue buildup.
- Use warm, soapy water and a sponge to wipe all surfaces thoroughly.
- Deep clean with a vinegar and water blend weekly to eliminate odors.
- Air dry all parts completely before reassembling to avoid mold.
Frequently Asked Questions
How Often Should I Clean My Blender to Prevent Odors?
You should clean your blender after each use to prevent odors and maintain freshness. Regular cleaning guarantees that leftover food particles don’t build up, which can lead to unpleasant smells. For odor prevention, deep clean your blender at least once a week with a mixture of warm water and dish soap or vinegar. Consistent cleaning frequency keeps your blender smelling fresh and functioning well, avoiding any lingering odors over time.
Can I Use Bleach to Clean My Blender Safely?
You shouldn’t use bleach to clean your blender because bleach safety concerns and potential damage to the appliance. Instead, opt for bleach alternatives like vinegar or baking soda, which are safe and effective for deodorizing and cleaning. To keep your blender fresh, blend warm water with a little vinegar or baking soda, then rinse thoroughly. This method prevents odors without risking damage or safety hazards from harsh chemicals.
What Should I Do if My Blender Still Smells After Cleaning?
If your blender still smells after cleaning, try odor elimination techniques like blending a mixture of baking soda and water or vinegar and water for a few seconds. Rinse thoroughly and repeat if necessary. For more effective cleaning tips, make certain you scrub all crevices and dry the blender completely. Regularly using these methods helps prevent lingering odors, keeping your blender fresh and ready for your next use.
Are There Natural Alternatives to Baking Soda and Vinegar?
Imagine a fresh garden breeze filling your kitchen as you use natural cleaning agents. You can try lemon juice, which acts like a bright sunlight burst, or baking soda’s gentle scrub. Essential oils like tea tree or peppermint add a revitalizing scent and antimicrobial properties. These natural alternatives clean effectively, removing odors without harsh chemicals, leaving your blender smelling clean and naturally crisp, just like a walk through a fragrant garden.
How Can I Prevent Mold Growth Inside My Blender?
To prevent mold growth inside your blender, you should focus on regular blender maintenance. After each use, rinse the container thoroughly and dry it completely to eliminate moisture, which fosters mold. Leave the lid off or slightly ajar to allow airflow. Occasionally, run a mixture of natural cleaning agents like lemon juice or hydrogen peroxide through the blender to keep it fresh and mold-free. Consistent care guarantees your blender stays clean and odor-free.
Conclusion
By following these simple steps, you’ll have a blender that stays fresh and odor-free like a breath of mountain air every time you use it. Regular cleaning prevents smells from taking over your kitchen and keeps your appliance working like a well-oiled machine. Think of your blender as a loyal companion—treat it right, and it’ll serve you perfectly for years to come. So, get cleaning and enjoy the freshest smoothies and shakes imaginable!