To avoid common stand mixer mistakes and save your batter, always choose the right attachments and bowl size for your recipe. Secure all parts tightly before starting, and start on low speed, gradually increasing to prevent splatters. Add ingredients slowly and use a scraper to guide them in. Clean and maintain your mixer regularly to keep it running smoothly. Want to master these tips? Keep going to learn more.
Key Takeaways
- Always secure the bowl and attachments properly before turning on the mixer.
- Start mixing at low speed to prevent splattering and gradually increase as ingredients combine.
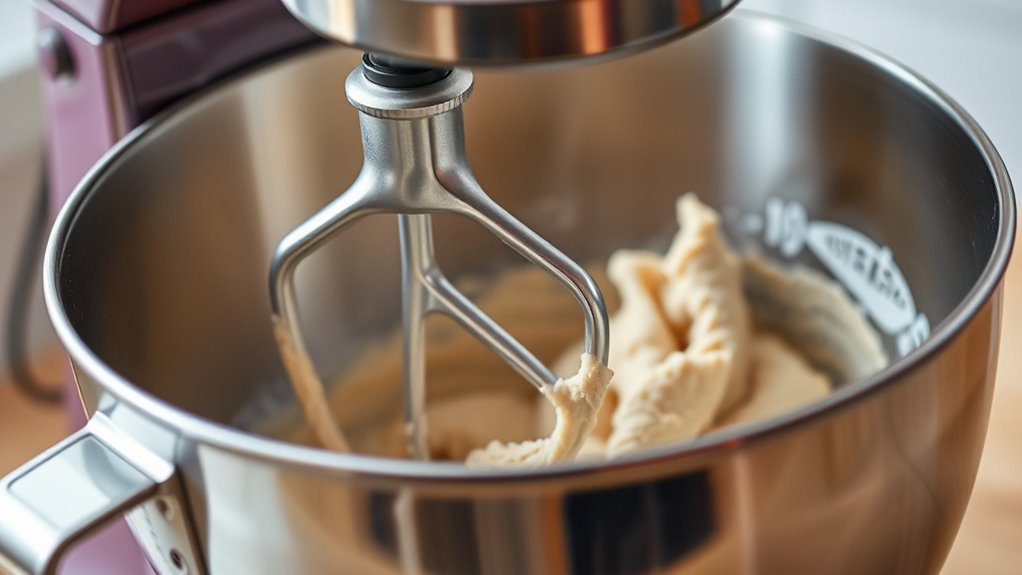
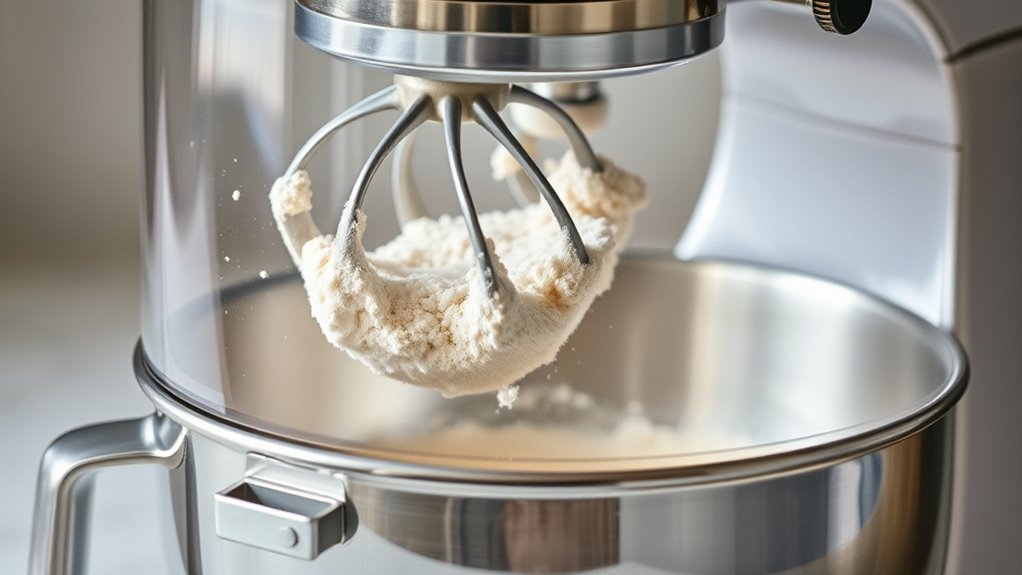
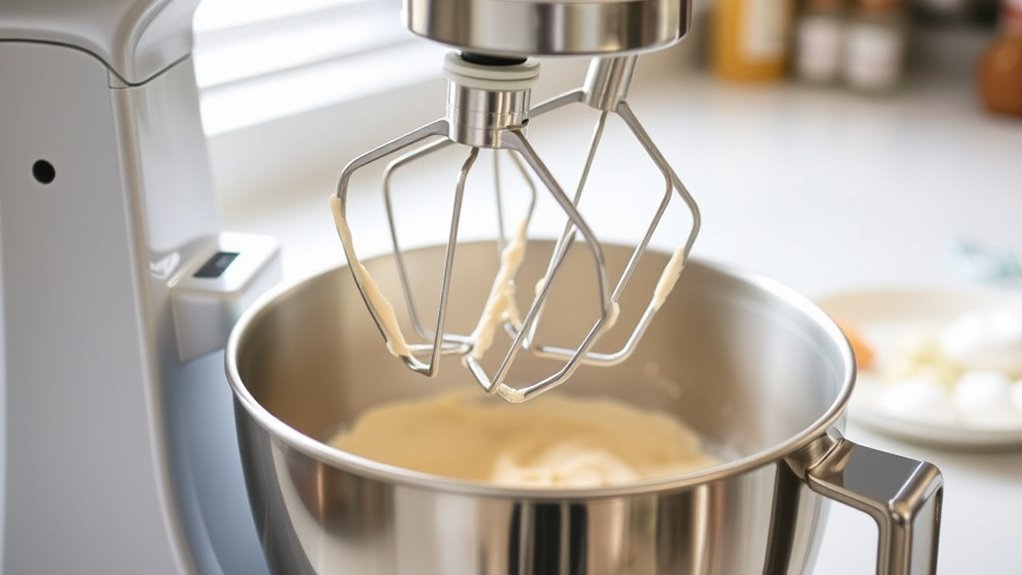
- Use the correct attachment for your recipe (e.g., paddle, whisk, dough hook) to avoid overmixing or undermixing.
- Incorporate ingredients gradually, stopping to scrape down sides for even blending and avoiding dry pockets.
- Regularly clean and maintain attachments and the bowl to ensure smooth operation and prevent ingredient buildup.
Top picks for "avoid common stand"
Open Amazon search results for this keyword.
As an affiliate, we earn on qualifying purchases.
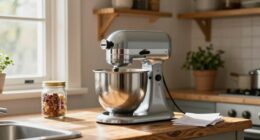
Choosing the Right Attachments for Your Recipes
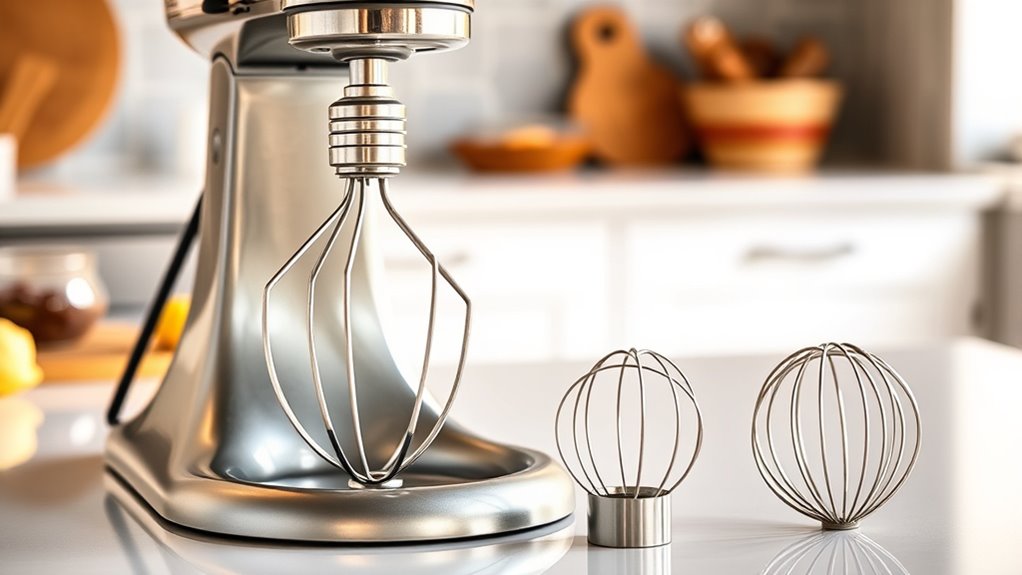
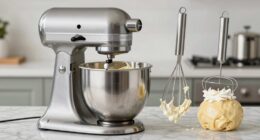
Choosing the right attachments for your recipes guarantees your stand mixer performs efficiently and produces the best results. Silicone spatulas are essential for scraping bowls and folding ingredients gently, ensuring nothing gets wasted. Measuring cups help you add precise amounts of ingredients, preventing over- or under-measuring that can ruin a recipe. When mixing batter, use the paddle attachment to combine dry and wet ingredients thoroughly without overworking the mixture. For whipping cream or egg whites, switch to the whisk attachment for maximum volume. The dough hook is perfect for kneading bread or pizza dough, saving you time and effort. Selecting these attachments based on your recipe needs guarantees your stand mixer runs smoothly and helps you achieve perfect results every time. Proper attachment selection can also help prevent common mistakes that might compromise your batter’s texture and consistency. Additionally, understanding different mixing techniques can further optimize your baking outcomes. Using the appropriate speed settings for each attachment further enhances your results and prevents mishaps during mixing. To ensure optimal performance, regularly maintaining and cleaning your attachments is essential for long-term durability of your equipment. Being aware of the retirement planning options in your state can also help you secure your financial future and avoid unexpected setbacks.
Avoiding Overmixing and Undermixing
Using the right attachments sets the stage for successful mixing, but it’s equally important to watch how long you blend. Overmixing can make your batter tough and dense, while undermixing leaves ingredients unevenly combined. To avoid these issues, focus on proper mixing techniques:
Proper mixing ensures smooth batter without overworking or undercombining ingredients.
- Stop as soon as the ingredients are just combined to prevent overmixing.
- Check the batter consistency regularly, aiming for a smooth, uniform texture.
- Use low speed initially, then adjust to medium or medium-high only when necessary for thorough mixing.
- Pay attention to the rustic decor of your kitchen environment, which can influence your comfort and efficiency during baking sessions.
- Incorporate the correct mixing techniques to ensure optimal batter texture and consistency.
- Being mindful of kitchen organization can help you work more efficiently and avoid mistakes during mixing.
- Selecting the appropriate attachment types can further enhance your mixing precision and help prevent common errors.
- Utilizing the proper gadget settings can optimize your stand mixer performance and improve your baking results.
Properly Securing the Bowl and Attachments
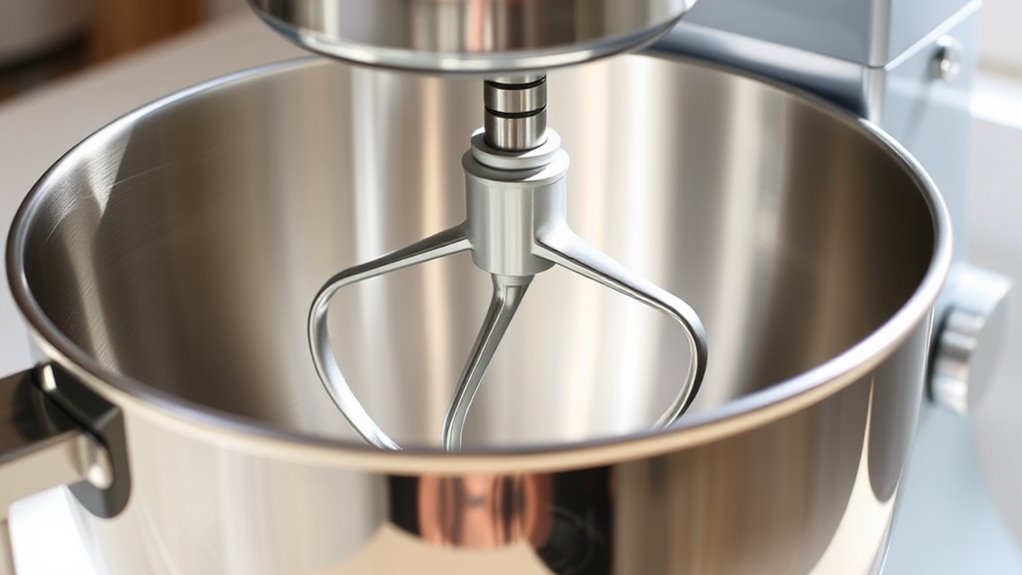
Have you securely attached the bowl and accessories before turning on your mixer? Ensuring bowl stability is essential to prevent wobbling or slipping during operation. Check that the bowl is locked firmly into place, with no sideways movement. Similarly, attach the beaters, whisks, or paddles securely, ensuring they click into the attachment hub completely. Loose attachments can wobble, cause uneven mixing, or even fall out mid-use. Always double-check that each component is properly secured before powering up your mixer. Proper attachment security not only guarantees a smoother mixing process but also protects you from potential messes or accidents. Additionally, consulting the manufacturer’s guidelines can help you understand the specific locking mechanisms and safety features of your stand mixer. Confirming the correct attachment placement helps avoid common mistakes that can affect your batter consistency and overall mixing performance. Ensuring the attachment compatibility is correct for your model can prevent issues during operation and extend the lifespan of your appliance. Paying attention to proper setup procedures is essential for safe and efficient use.
Understanding Mixer Speed Settings
To get the best results, you need to adjust your mixer’s speed properly for each task. Using the wrong speed can cause ingredients to splatter or not mix evenly. Pay attention to signs like ingredients sticking to the sides or achieving the right consistency to know you’re on the right setting. Proper tuning of your mixer can also prevent common mistakes and improve overall performance. Additionally, understanding best practices for different recipes can help you avoid overmixing or undermixing your batter. Recognizing seasonal variations and how they affect baking can also help you choose the appropriate mixer speed for optimal results. Being aware of ingredient quality can influence how you adjust your mixer’s speed and mixing time, ensuring better outcomes. Remember that the father-daughter bond and shared experiences in the kitchen can make baking a more enjoyable and meaningful activity.
Adjusting Speed Correctly
Understanding your mixer’s speed settings is essential for achieving the best results. Proper speed control helps make certain consistent mixing and prevents batter from splattering. To adjust correctly:
- Start on a low speed to combine ingredients without making a mess.
- Gradually increase the speed to reach your desired mixing consistency.
- Use the highest speed briefly for whipping or aerating ingredients.
- Be aware that speed settings impact image quality and overall mixing performance, so selecting the optimal speed is crucial for professional results. Additionally, choosing the right headphone connection can enhance your listening experience during baking tutorials or music while working.
- Remember that mixing techniques can also influence the final outcome, so practicing proper speed adjustments ensures better baking success.
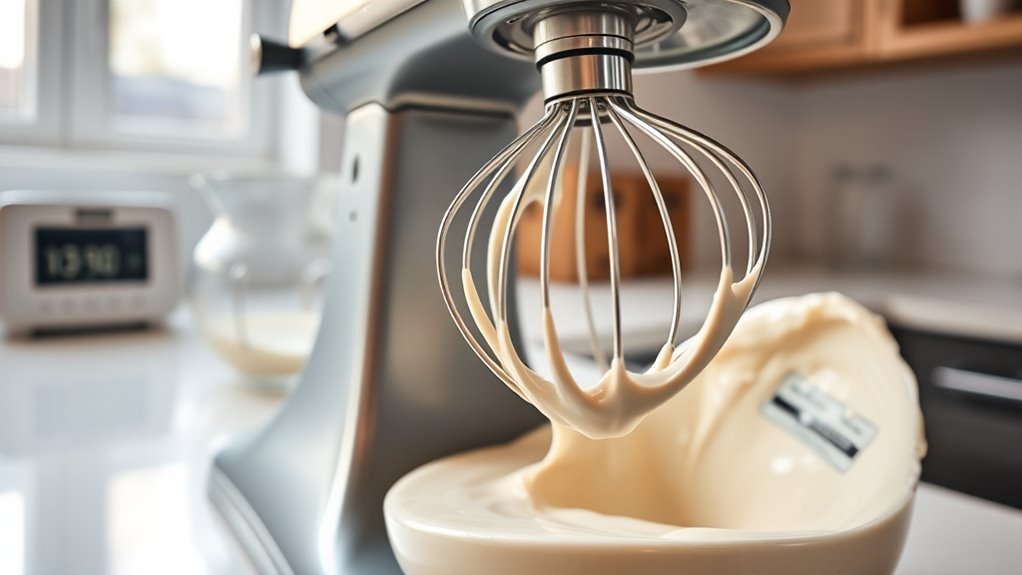
Recognizing Mixing Signs
Are you able to tell when your mixer is working at the right speed? Recognizing mixing signs is essential for achieving the perfect batter. Pay attention to texture indicators: when ingredients are just beginning to combine, the mixture may look slightly loose, signaling you should increase speed. As you mix, consistency signals like smoothness and uniformity help confirm you’re on the right track. For example, when whipping cream or egg whites, stiff peaks indicate the correct speed, while a thin, runny consistency suggests you need to slow down or adjust. Understanding these cues guarantees you don’t overmix or undermix, preserving the batter’s integrity. By observing texture indicators and consistency signals, you’ll master your mixer’s speeds and improve your baking results.
Gradually Adding Ingredients to Prevent Spills
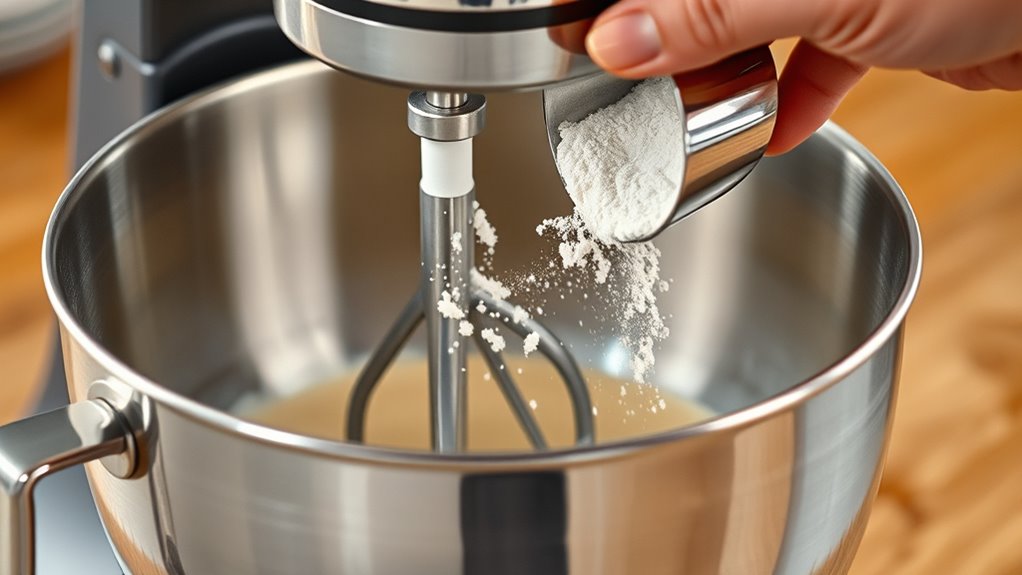
When adding ingredients to your mixer, start at a slow speed to keep everything contained. Use a scraper to guide ingredients into the bowl and prevent them from splattering. Taking these steps helps you add everything smoothly without making a mess.
Slow Speed Mixing
Starting your mixer on a slow speed is essential to prevent messy spills and splatters. This helps you maintain proper mixing consistency and gives you better speed control. When you begin, keep these points in mind:
- Add ingredients gradually, allowing each to incorporate fully before adding more.
- Keep the mixer at a low setting to avoid sudden splashes.
- Increase speed only after ingredients are well combined to achieve a smooth batter.
Use a Scraper
Using a scraper alongside your mixer helps you add ingredients gradually and evenly, reducing the risk of spills. This technique guarantees batter stays inside the bowl and mixes thoroughly. Choose the right scraper type—silicone for flexibility or rubber for sturdy scraping—to match your spatula techniques. As you add ingredients, pause the mixer and use the scraper to push down ingredients from the sides, preventing dry pockets or overflows. Incorporate ingredients in small batches, scraping between additions, to maintain consistency. This method keeps your batter smooth and prevents messes.
| Scraper Type | Best Use Case |
|---|---|
| Silicone | Flexible, ideal for scraping bowls |
| Rubber | Sturdy, great for stubborn batter |
| Metal | Precise, for tough residues |
| Wooden | Gentle, for delicate mixing |
Maintaining and Cleaning Your Stand Mixer Regularly
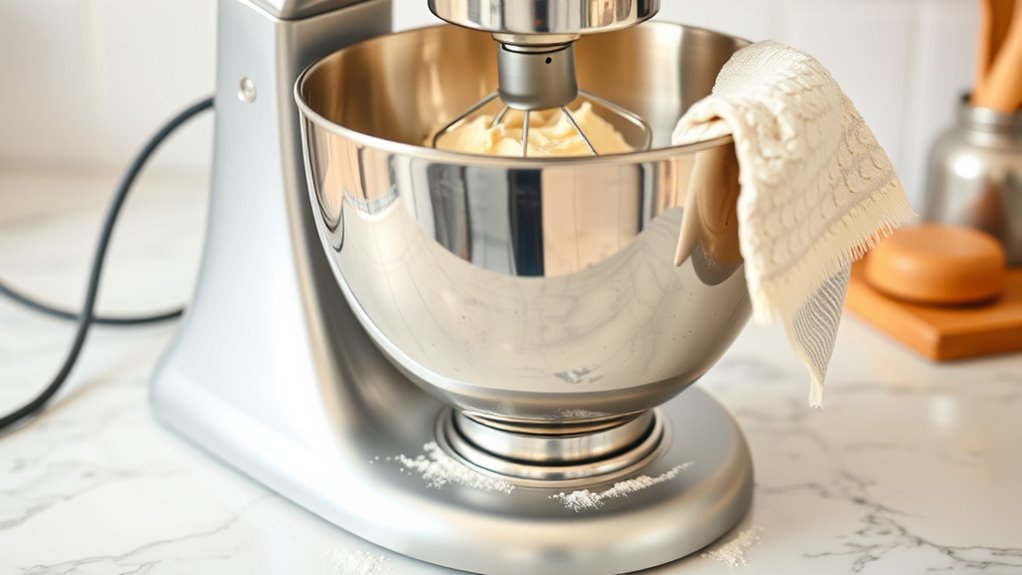
Regularly maintaining and cleaning your stand mixer is essential to keep it running smoothly and extend its lifespan. Proper mixer maintenance ensures all parts function correctly and prevents buildup that can affect performance. Incorporate a simple cleaning routine by:
- Unplugging the mixer and removing attachments, then washing them with warm, soapy water.
- Wiping down the exterior and head with a damp cloth to remove dust and residue.
- Using a soft brush or cloth to clean the attachment hub and vent areas gently.
Consistent cleaning routines prevent grease buildup and ensure smooth operation. Regularly checking for loose parts and lubricating moving components also helps maintain your mixer’s efficiency. Staying on top of mixer maintenance saves you from costly repairs and keeps your batter mixing flawlessly.
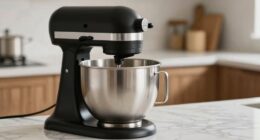
Using the Correct Bowl Size and Type
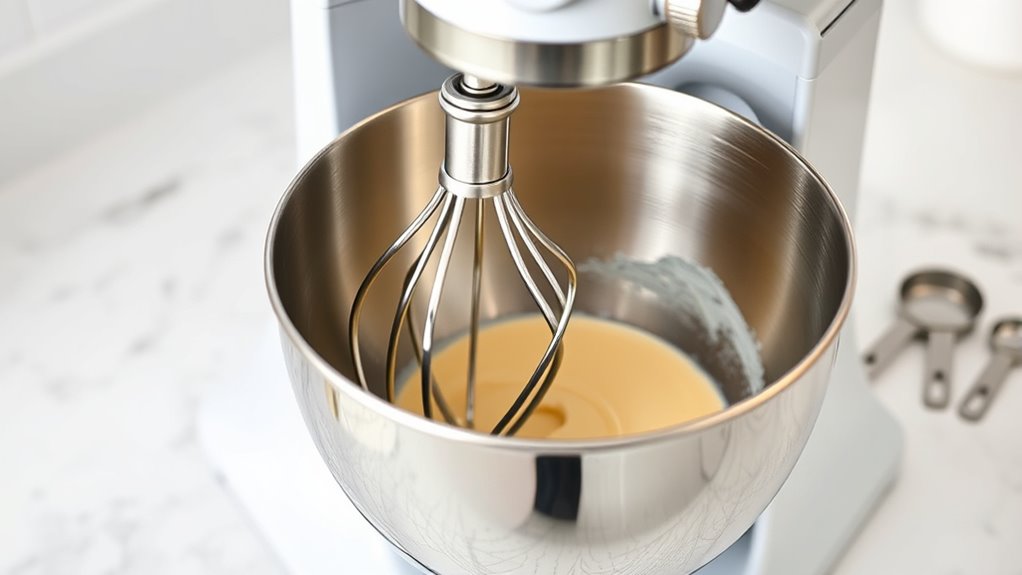
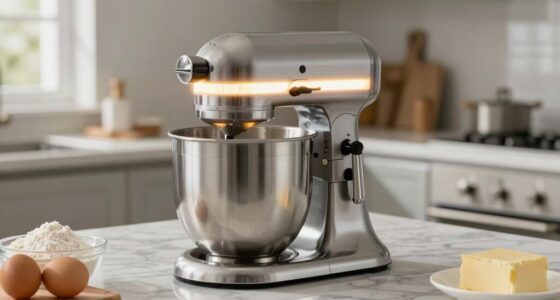
Choosing the right bowl size and type is essential for efficient and safe mixing. The bowl material affects durability and how easy it is to clean; stainless steel is sturdy and non-reactive, while glass allows for visibility. Select a bowl size that matches your recipe’s volume—using too small a bowl can cause splattering, while an oversized one may be unstable. The mixing bowl shape also matters: a rounded, deep bowl helps contain ingredients and reduces mess, especially when beating or whipping. Guarantee the bowl fits securely onto your mixer’s base to prevent wobbling or tipping. Using the correct combination of bowl material and shape ensures smooth blending, minimizes splashes, and protects your ingredients. Proper bowl selection makes your mixing safer and more effective.
Preventing Batter Splatter and Messes
To keep batter from splattering all over your kitchen, it’s essential to take a few simple precautions during mixing. Splatters prevention and mess control start with the right setup. First, attach the splash guard or cover to your mixer to contain any overspill. Second, start mixing at a low speed, gradually increasing to prevent sudden splatters. Third, use a spatula to occasionally scrape down the sides of the bowl, ensuring even mixing and preventing batter buildup that could cause splashes. These steps help minimize messes and keep your workspace clean. Remember, controlling splatter isn’t just about tidiness—it also protects your kitchen surfaces and makes cleanup easier. With these simple measures, you’ll enjoy a cleaner, more efficient mixing experience.
Troubleshooting Common Mixer Issues
Even with careful setup, mixer issues can still crop up during baking. If your mixer stalls or makes unusual noises, check the motor for signs of overheating or strain, which may indicate a need for motor maintenance. Ensure all attachments are securely fitted, as loose parts can cause vibrations or motor problems. If your mixer isn’t turning on, verify that it’s plugged in properly and that your electrical safety measures are in place—avoid using damaged cords or outlets. Regularly inspecting the electrical components helps prevent short circuits or electrical hazards. If problems persist, consult the manufacturer’s guidelines or seek professional repair. Maintaining your mixer’s motor and practicing electrical safety keeps your appliance running smoothly and extends its lifespan, reducing the risk of breakdowns during your baking sessions.
Frequently Asked Questions
How Do I Know Which Attachment Is Best for Each Recipe?
You can choose the best attachment by considering your recipe and the needed mixing techniques. Use the paddle attachment for creaming butter and sugar or mixing thick batter, as it blends ingredients thoroughly. The whisk is perfect for whipping egg whites or cream to soft peaks. The dough hook is ideal for kneading bread or heavy dough. Match the attachment to your recipe’s consistency and desired mixing action for best results.
What Are Signs I’M Overmixing or Undermixing My Batter?
Think of your batter as a delicate dance partner—you want just the right rhythm. Signs you’re overmixing include a tough, dense texture and a shiny, elastic appearance, while undermixing leaves your batter lumpy, streaky, and inconsistent. Pay attention to consistency clues like smooth, uniform batter for proper mixing. If it looks too stiff or too runny, stop and adjust—your batter’s texture is the secret to perfect baked goods.
How Can I Tell if the Mixer Bowl and Attachments Are Secured Properly?
You can tell if your mixer bowl and attachments are secured properly by checking the attachment compatibility and ensuring the bowl locking mechanism clicks into place. Confirm that the attachment is fully inserted and locked by gently tugging, which shouldn’t move it. Also, verify that the bowl is securely latched using the locking mechanism, preventing it from wobbling or lifting during operation, ensuring safe and efficient mixing.
Which Speed Setting Should I Use for Delicate Versus Heavy Mixtures?
Use a low speed setting for delicate mixtures to prevent splattering and guarantee gentle blending, while a higher speed is best for heavy or thick ingredients to achieve the right mixing consistency. Adjust the speed control gradually, observing how well the ingredients combine. This approach helps you maintain control, avoids overmixing, and results in a smooth batter or dough, making your baking process more efficient and successful.
How Do I Prevent Batter From Splattering Outside the Bowl?
Ever notice how batter tosses itself outside the bowl at the worst moment? To prevent splatter, make sure your bowl is placed securely and centered under the mixer. Use the splash guard if available, and start mixing on low speed before gradually increasing. Keep your ingredients in the center of the bowl, and avoid overfilling. These simple steps will help you achieve clean, mess-free batter every time.
Conclusion
So, next time you fire up your stand mixer, remember these tips—because nothing screams “master baker” like avoiding splatters, mishaps, and the dreaded overmixing. After all, isn’t it far more satisfying to create perfect batter than to spend hours cleaning the kitchen? Keep these tricks in mind, and you’ll turn baking chaos into a symphony of delicious success—without the need for a fire extinguisher or a trip to the dry cleaner. Happy mixing!