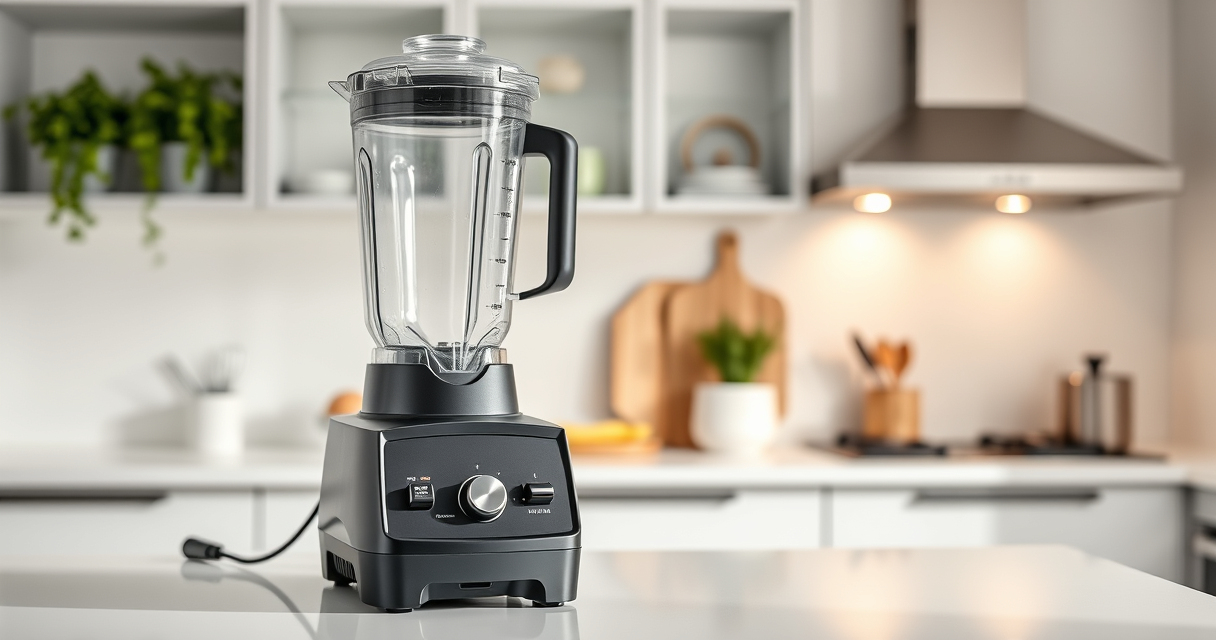
The Vitamix 5200 is a powerful, professional-grade blender that requires proper cleaning to maintain its performance and hygiene. Regular cleaning prevents residue buildup and keeps your blender functioning smoothly. This guide provides clear, practical steps to clean your Vitamix 5200 safely and effectively.

Get kitchen staples and gadgets delivered free with Prime
- Fast, free delivery on millions of items
- Prime Video, Amazon Music and more included
- Member-only deals all year
Key Takeaways
| Self-Cleaning Feature | The Vitamix 5200 has a built-in self-cleaning function for quick maintenance. |
| Use Proper Detergent | Use warm water and a few drops of dish soap for cleaning. |
| Avoid Harsh Chemicals | Do not use abrasive cleaners or bleach to prevent damage. |
| Regular Maintenance | Cleaning after each use ensures hygiene and optimal performance. |
Preparing to Clean
- Unplug your Vitamix 5200 from the power outlet to ensure safety during cleaning.
- Remove the container from the motor base carefully.
Cleaning the Container and Lid
- Fill the container halfway with warm water and add a few drops of dish soap.
- Secure the lid and turn on the blender to run the self-cleaning cycle for 30-60 seconds.
- Pour out the soapy water and rinse thoroughly with clean water.
Cleaning the Blades and Base
Never submerge the motor base in water. Wipe it down with a damp cloth to remove any residue. For blades, if needed, use a soft brush or cloth to wipe around the blades carefully, avoiding direct contact with sharp edges.
Additional Tips and Warnings
- Do not use harsh abrasives or bleach on any parts.
- Periodically check the blades for any signs of damage or buildup.
- Ensure all parts are completely dry before reassembling to prevent mold or corrosion.
The Products in This Guide

Vitamix 5200 Blender
- ✔ Container Material: BPA-free plastic
- ✔ Dimensions: 8 x 7 x 20 inches
- ✔ Warranty: 5 years

Vitamix Wet Blade Assembly
- ✔ Blade Material: Stainless steel
- ✔ Assembly Type: Wet blade
- ✔ Replacement Time: Minutes
Vitamix 5200 Blender
The Vitamix 5200 Blender is a professional-grade appliance with a self-cleaning feature that simplifies maintenance. Its stainless-steel blades and large container make it versatile for various recipes.
Pros:
- Self-cleaning feature for quick maintenance
- Powerful 2 HP motor
- Durable stainless-steel blades
- Large 64 oz container
Cons:
- Requires careful handling of blades
- Motor base needs to be kept dry
- May be loud during operation
Best for: Daily use for smoothies, soups, and sauces
Not ideal for: Not suitable for those who prefer minimal noise or compact storage
Bottom line: A dependable, easy-to-maintain blender for serious home chefs.
Vitamix Wet Blade Assembly
The Vitamix Wet Blade Assembly is designed for replacing older blades and ensuring your blender continues to operate smoothly, especially if you use it frequently for wet ingredients.
Pros:
- Hardened stainless steel blades
- Quick on-site replacement
- Increases blade lifespan
- Quieter operation
Cons:
- Compatibility limited to older containers
- Requires some disassembly for replacement
Best for: Maintaining older Vitamix models or replacing worn blades
Not ideal for: Not compatible with newer containers or models
Bottom line: A reliable upgrade to keep your Vitamix blades cutting smoothly.
Frequently Asked Questions
Can I submerge the motor base in water?
No, always wipe the motor base with a damp cloth and avoid submerging it in water to prevent damage.
How often should I clean my Vitamix 5200?
Clean your blender after each use, especially if you make sticky or residue-heavy recipes like nut butters or sauces.
Is it safe to run the self-cleaning cycle with just water?
Yes, running the self-cleaning cycle with warm water and a few drops of dish soap is safe and effective for routine cleaning.
What should I do if the blades become dull?
The blades of the Vitamix 5200 are made of stainless steel and do not require sharpening. If you notice poor blending, consider replacing the blade assembly.
Keep Your Vitamix 5200 in Top Shape
Regular cleaning is essential to maintain your Vitamix 5200’s performance and longevity. By following these simple steps and tips, you can ensure your blender continues to deliver smooth, consistent results for years to come. Proper care not only preserves your investment but also ensures safety and hygiene in your kitchen.
Affiliate disclosure: As an Amazon Associate we earn from qualifying purchases. Prices and availability are accurate as of the time of publishing.
Fall Picks
fall essentials
As an affiliate, we earn on qualifying purchases.