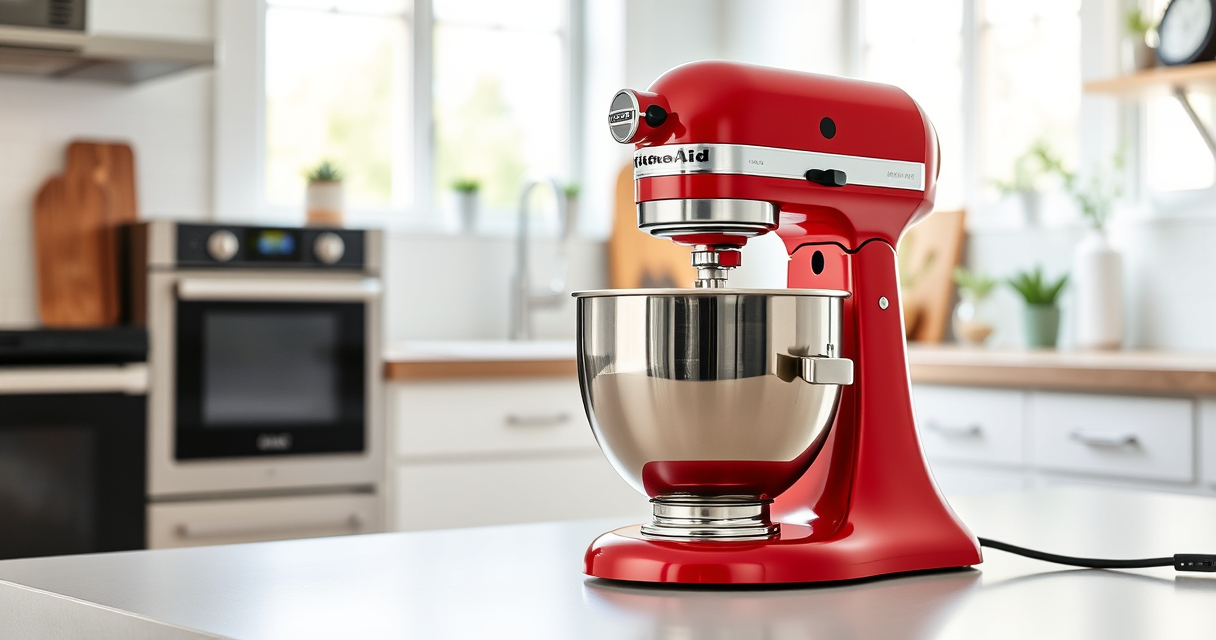

If your KitchenAid Artisan Series 5 Quart Tilt Head Stand Mixer is leaking oil, it can be concerning. Oil leaks may indicate a worn seal or other internal issues that need attention to ensure your mixer continues to operate smoothly and safely. This guide walks you through common causes and practical fixes, helping you troubleshoot safely and effectively.

Get kitchen staples and gadgets delivered free with Prime
- Fast, free delivery on millions of items
- Prime Video, Amazon Music and more included
- Member-only deals all year
Key Takeaways
| Identify common causes | Oil leaks often result from worn seals or internal components. |
| Safety first | Always unplug the mixer before attempting repairs. |
| Step-by-step fixes | Most leaks can be fixed by replacing seals or cleaning internal parts. |
| When to seek help | If you’re uncomfortable, contact a professional or authorized service. |
Identify the Source of the Leak
- Unplug the mixer and move it to a clean, flat surface.
- Remove the attachment hub cover and tilt the head back.
- Inspect around the top and sides of the gear housing for oil accumulation or drips.
- Check the area around the gear case, bowl, and shaft for signs of oil seepage.
Clean the External and Internal Components
- Wipe off any visible oil with a clean, dry cloth.
- Use a mild degreaser or isopropyl alcohol to thoroughly clean the exterior, especially around seals and joints.
- If comfortable, remove the gear housing cover (if applicable) following the manufacturer’s instructions to access internal parts.
Check and Replace Worn Seals
- Identify the seals around the gear housing and shaft.
- Order replacement seals designed for your model (consult the user manual or parts supplier).
- Carefully remove the old seals using appropriate tools, avoiding internal damage.
- Lubricate the new seals with a small amount of food-grade or recommended lubricant, then install them securely.
Reassemble and Test
- Reattach any removed covers or parts securely.
- Plug in the mixer and run it at low and high speeds for a few minutes.
- Observe for any leaks or oil seepage during operation.
Tips and Warnings
- Always ensure the mixer is unplugged before disassembly to prevent electric shock.
- Handle internal parts gently to avoid damage.
- Use only recommended replacement parts for your specific model.
- If unsure about the repair process, consult a professional or authorized service center.
The Products in This Guide

KitchenAid Artisan Series 5 Quart Tilt Head Stand Mixer
- ✔ Weight: 26 lbs
- ✔ Dimensions: 14 x 8 x 14 inches
- ✔ Warranty: 1 year limited

KitchenAid Stand Mixer Attachment
- ✔ Weight: 3 lbs
- ✔ Dimensions: 8 x 6 x 4 inches
- ✔ Warranty: 1 year
KitchenAid Artisan Series 5 Quart Tilt Head Stand Mixer
The KitchenAid Artisan Series 5 Quart Tilt Head Stand Mixer is built to last with durable metal construction. If it leaks oil, replacing worn seals can restore it to optimal performance. Regular maintenance helps prolong its lifespan.
Pros:
- Sturdy metal build
- Easy to access and clean
- High-quality components
- Versatile for various recipes
Cons:
- Requires careful handling during repairs
- Potential need for professional service
- Seal replacement may be complex for some users
Best for: Home bakers and cooking enthusiasts needing reliable performance
Not ideal for: For users uncomfortable with small DIY repairs
Bottom line: Regular maintenance and seal checks keep your KitchenAid mixer running smoothly.
KitchenAid Stand Mixer Attachment
This metal food grinder attachment connects seamlessly to your KitchenAid mixer, expanding its functionality. Perfect for grinding meat, vegetables, and more, it complements your mixer’s capabilities.
Pros:
- Durable metal construction
- Multiple grinding plates included
- Easy to attach and clean
- Great for fresh, homemade foods
Cons:
- Additional cost
- Requires some assembly
- Cleaning can be time-consuming
Best for: Homemade sausage, meat, and vegetable grinding enthusiasts
Not ideal for: For those without a KitchenAid mixer or limited kitchen space
Bottom line: A versatile add-on that turns your mixer into a powerful food grinder.
Frequently Asked Questions
Can I fix the oil leak myself?
Yes, if you are comfortable with small repairs, replacing seals and cleaning internal parts is manageable with proper tools and instructions.
What parts do I need to replace for an oil leak?
Typically, worn or damaged seals around the gear housing or shafts are the main culprits. Check these parts first before replacing other components.
Is it safe to operate the mixer after fixing a leak?
Ensure all parts are reassembled correctly, seals are secure, and no oil is leaking before using the mixer at any speed.
When should I seek professional help?
If you’re unsure about disassembly, or if the leak persists after repairs, it’s best to consult an authorized service technician.
Keep Your KitchenAid Mixer Running Smoothly
Regular inspection and timely seal replacement can prevent leaks and extend your mixer’s lifespan. Always prioritize safety and, when in doubt, seek professional repair services to keep your culinary adventures going without interruption.
Affiliate disclosure: As an Amazon Associate we earn from qualifying purchases. Prices and availability are accurate as of the time of publishing.
Halloween Picks
halloween
As an affiliate, we earn on qualifying purchases.