To froth milk at home without an espresso machine, you can use simple tools like a jar with a tight lid, a French press, or a whisk. Heat your milk to about 140°F and either shake it vigorously, rapidly pump the French press, or whisk until it becomes creamy and frothy. Using a handheld milk frother or blender also works well. Keep practicing these methods, and you’ll master perfect foam in no time.
Key Takeaways
- Use common tools like a jar with a tight lid, French press, or whisk to manually froth milk at home.
- Heat milk to about 140°F for optimal frothing and avoid boiling.
- Shake vigorously in a sealed jar or plunge the French press quickly to create foam.
- Whisk heated milk briskly by hand or with an electric mixer until frothy and velvety.
- Choose milk with higher protein content, like whole or soy milk, for better, more stable foam.

Zulay Kitchen Powerful Milk Frother Wand With 2 Duracell Batteries – Ultra Fast Handheld Drink Mixer – Electric Whisk Foam Maker for Coffee, Lattes, Cappuccino, Matcha, Hot Chocolate & Creamer – Black
MAKE RICH, CREAMY FROTH IN SECONDS: We coffee lovers are serious when it comes to our coffee. The…
As an affiliate, we earn on qualifying purchases.
As an affiliate, we earn on qualifying purchases.
Using a Jar With a Tight Lid to Froth Milk
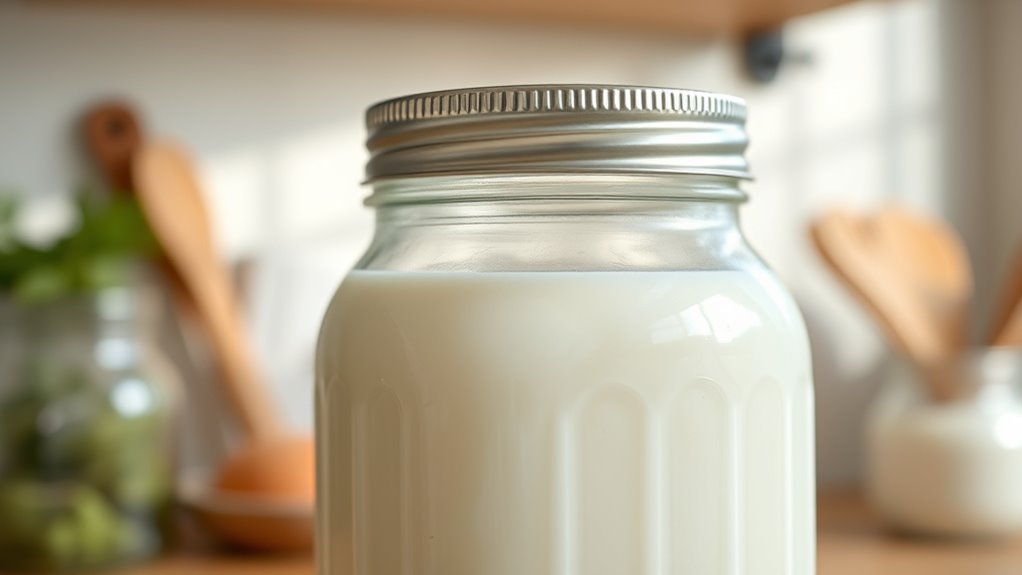
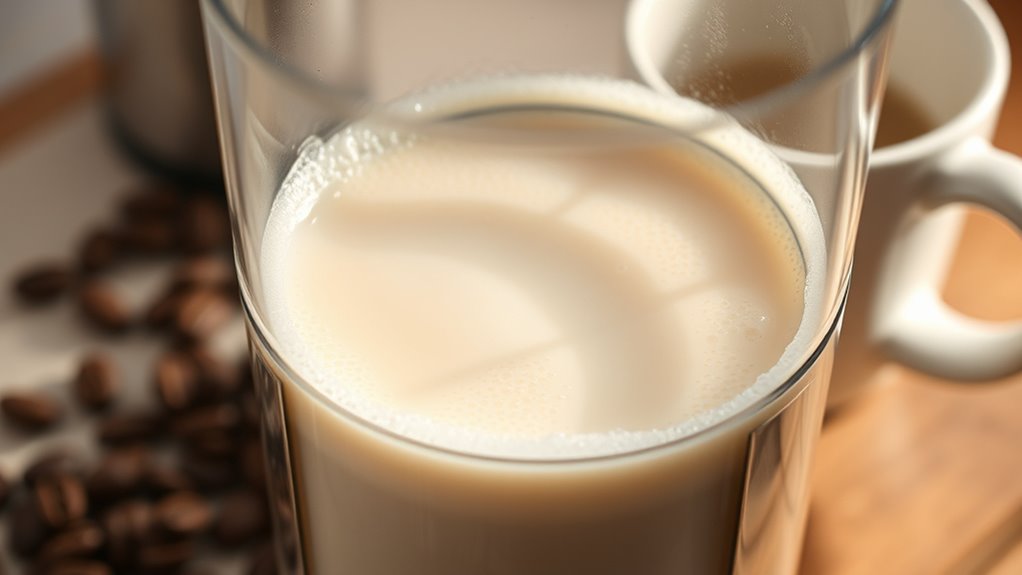
Using a jar with a tight lid is one of the simplest ways to froth milk at home. The jar method relies on vigorous shaking to create foam, making it accessible and quick. First, pour your desired amount of milk into a clean jar, leaving some space at the top. Make certain the lid is sealed tightly—lid sealing is vital to prevent leaks during shaking. Shake the jar vigorously for about 30-60 seconds until the milk doubles in size and becomes frothy. Carefully remove the lid, then gently tap the jar to settle the foam. You can microwave the jar briefly to warm the froth if desired. This simple method requires no special tools and yields creamy, airy foam perfect for lattes and cappuccinos. The process of frothing milk is an excellent example of how simple techniques can produce barista-quality results at home. Additionally, using kitchen tools like a jar makes the process even more straightforward and accessible for everyone. Understanding safety precautions and power tool safety is also important if you decide to use electrical appliances to heat or prepare your milk, ensuring safe operation during your frothing experiments.

TBGENIUS French Press Coffee Maker 21 oz, Cold Brew Heat Resistant Thickened Borosilicate Coffee Pot, Coffee Presses 600 ml, Tea and Frothed Milk Press (Black,21Ounce)
【French press coffee pot】 wait for 4 minutes and it will give you a cup of coffee with…
As an affiliate, we earn on qualifying purchases.
As an affiliate, we earn on qualifying purchases.
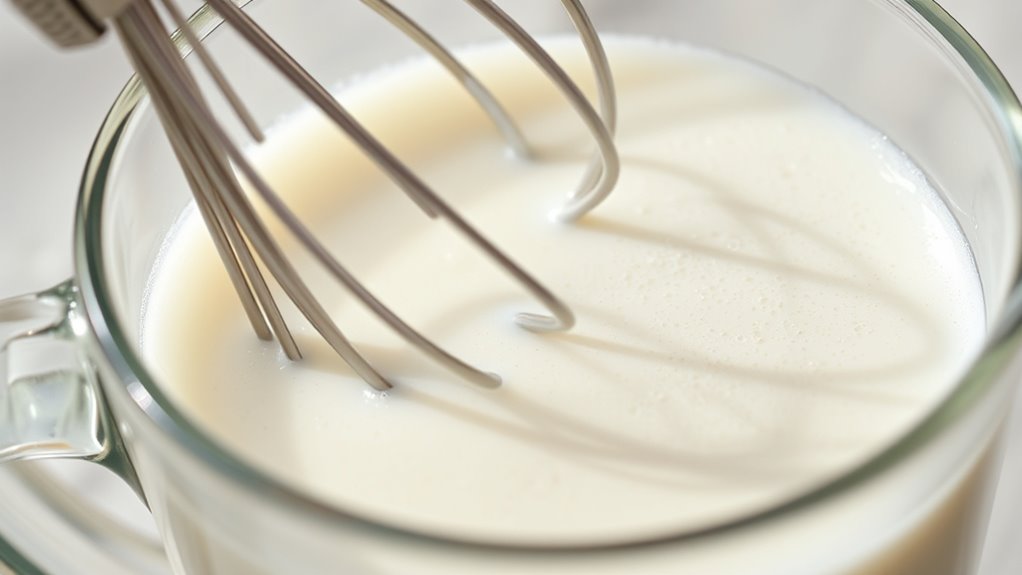
Whisking Milk by Hand or With an Electric Hand Mixer
To get the best froth, choose the right type of milk, like whole or 2%, which froths better than skim. When whisking by hand or with an electric mixer, use quick, consistent motions to create a smooth, creamy foam. Mastering proper technique makes all the difference in achieving café-quality results at home. Additionally, using proper equipment, such as a handheld frother or a milk steamer, can further improve your frothing results. Being aware of sustainable practices in milk production can also help reduce the environmental impact of your homemade froth. For optimal results, some prefer to use specialized frothing tools designed specifically for milk steaming and frothing. Incorporating a vacuum pump can help achieve a finer, denser foam for a more professional finish, especially since sound vibrations are believed to influence cellular regeneration and overall health, which can be beneficial in creating the perfect foam.
Choosing the Right Milk
Choosing the right milk is essential for achieving a creamy, stable froth. The type of milk affects foam quality and flavor. First, consider dairy options like whole milk for richness or skim milk for lighter foam. Dairy alternatives, such as almond or oat milk, can also work but may require adjustments. Second, pay attention to milk temperature; frothing works best when milk is heated to around 140-150°F. Third, some plant-based milks froth better than others—soy and cashew often produce smoother foam. Additionally, protein content in milk plays a crucial role in creating stable, velvety froth. The composition of milk proteins influences how well the milk will foam, which is important when selecting the best option. Finally, keep in mind that milk with higher protein content generally creates more stable foam. Proper milk selection plays a crucial role in achieving the perfect froth. By selecting the appropriate milk and temperature, you set a solid foundation for perfect frothing, whether by whisk or electric mixer. Additionally, understanding the science of milk proteins helps in choosing the best options for stable foam. Moreover, using appropriate frothing techniques ensures that the milk reaches its full frothing potential.
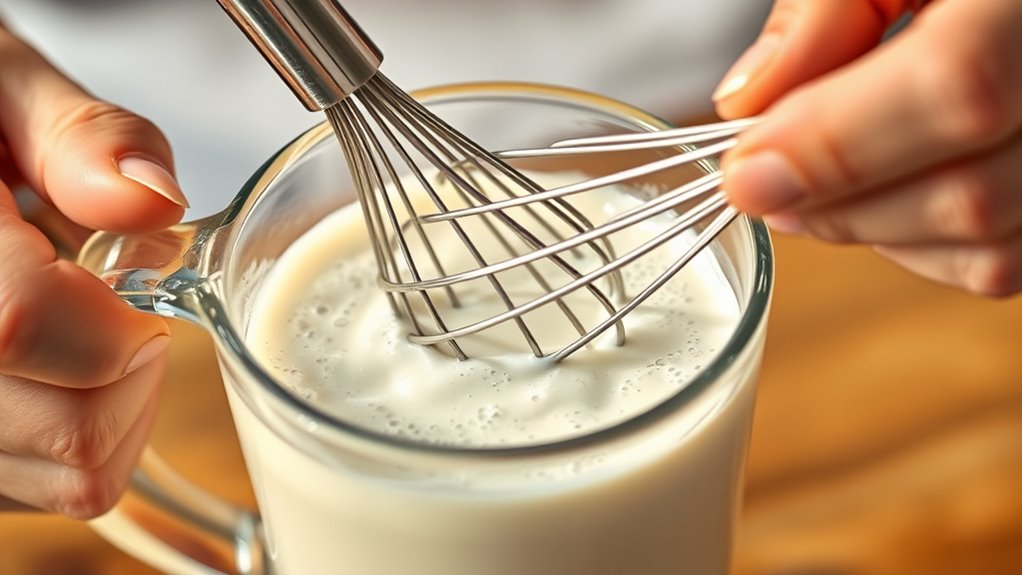
Proper Whisking Technique
Whether you’re whisking milk by hand or with an electric hand mixer, the key is to move consistently and steadily to create a smooth, airy foam. Focus on maintaining a steady speed to achieve the desired milk texture and frothing consistency. Keep the whisk or mixer at a slight angle and avoid rushing, which can cause uneven foam. Practice gentle, continuous motions, and watch for the milk to thicken and increase in volume. To understand the process better, consider this table:
| Technique | Effect on Milk Texture | Tips for Better Frothing |
|---|---|---|
| Gentle Whisking | Smooth, velvety foam | Use a slow, steady motion |
| Faster Whisking | Larger bubbles, airy foam | Gradually increase speed |
| Electric Mixer | Consistent froth | Keep the bowl steady |
| Hand Whisk | More control | Use a larger whisk for efficiency |
Mastering these techniques ensures perfect froth every time. Consistent motion is essential for achieving professional-looking foam and better overall results. Additionally, temperature control plays a significant role in creating the ideal milk froth, as overheated milk can affect the texture and taste. Proper milk selection can also influence the quality of the froth, as fresher milk tends to produce better foam. Understanding how the contrast ratio impacts the visual appeal of your milk froth can help you fine-tune your technique for stunning results. Moreover, paying attention to the frothed milk’s stability can ensure your foam holds up longer for latte art or other presentation styles.

Milk Frothing Pitcher 350ml/600ml/900ml/1500ml (12oz/20oz/32oz/50oz) Steaming Pitchers Stainless Steel Milk/Coffee/Cappuccino/Latte Art Barista Steam Pitchers Milk Jug Cup with Art Pen,12oz
Perfect Combination Of Milk Frothing Pitcher And Latte Art Pen: The milk frother jug can be used in…
As an affiliate, we earn on qualifying purchases.
As an affiliate, we earn on qualifying purchases.
Frothing With a French Press or Coffee Plunger
Using a French press or coffee plunger is an easy and effective way to froth milk at home. It’s simple to achieve creamy foam without special equipment. First, heat your milk to about 140°F (60°C). Pour the warm milk into the French press or coffee plunger. Secure the lid and rapidly move the plunger up and down for 30-60 seconds. This motion introduces air and creates foam. Keep in mind:
- Use a clean, dry French press for best results.
- Don’t overfill—leave space for foaming.
- Maintain consistent movement for even froth.
- Pour immediately for the best texture.
- Understanding city dynamics can help you adapt your frothing techniques to different environments and preferences.
This method relies on your manual effort, making it accessible and affordable for home baristas.
Zulay Kitchen Powerful Milk Frother Wand With 2 Duracell Batteries – Ultra Fast Handheld Drink Mixer – Electric Whisk Foam Maker for Coffee, Lattes, Cappuccino, Matcha, Hot Chocolate & Creamer – Black
MAKE RICH, CREAMY FROTH IN SECONDS: We coffee lovers are serious when it comes to our coffee. The…
As an affiliate, we earn on qualifying purchases.
As an affiliate, we earn on qualifying purchases.
Creating Foam Using a Handheld Milk Frother

Choosing the right handheld milk frother is key to getting perfect foam, so consider factors like power and ease of use. Once you have your frother, practicing the correct technique helps you create smooth, creamy foam consistently. With a little practice, you’ll master how to froth milk like a pro at home. Additionally, understanding tuning principles can help you optimize your frothing process for better results.
Choosing the Right Frother
A handheld milk frother is a versatile and affordable tool that can quickly transform your milk into creamy foam. When choosing the right frother, consider these points:
- Compatibility with milk alternatives like almond or oat milk, which may froth differently.
- Adjustable settings for controlling frothing temperature, vital for achieving the best foam quality.
- Speed and motor power to guarantee consistent results with minimal effort.
- Ease of cleaning, especially if you switch between different types of milk.
Selecting a frother that suits your preferred milk types and allows precise temperature control will help you create perfect foam every time. Keep these factors in mind for a seamless frothing experience at home.
Mastering the Frothing Technique
Mastering the frothing technique with a handheld milk frother involves a few simple but essential steps. First, ensure your milk is heated to the right temperature—around 140°F (60°C)—for excellent foam. Use a clean frothing container that’s wide enough to allow the milk to expand. Submerge the frother just below the surface and turn it on. Keep the frother near the top to introduce air, then lower it to create a smooth, velvety foam.
Here’s a quick guide:
| Step | Action | Tips |
|---|---|---|
| Prepare milk | Heat to 140°F (60°C) | Use a thermometer |
| Fill container | Fill 1/3 full | Avoid overfilling |
| Froth at surface | Keep frother near the surface | Introduce air effectively |
| Lower for foam | Submerge deeper for texture | Achieve creamy foam |
| Finish | Turn off and tap container lightly | Prevent large bubbles |
Frothing Milk With a Stand Mixer or Food Processor
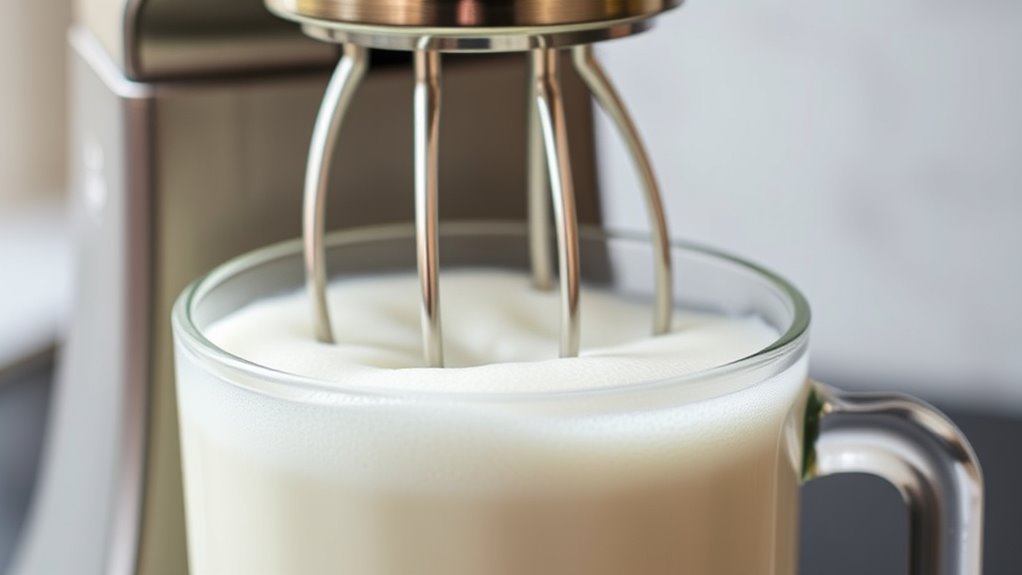
Frothing milk with a stand mixer or food processor is a quick and convenient option if you already have these appliances in your kitchen. To achieve the best results, focus on milk temperature and froth stability. Here are four tips to help you succeed:
Frothing milk with a stand mixer is quick, easy, and yields stable, creamy froth for your coffee drinks.
- Use cold milk straight from the fridge to start, then heat it to 140°F for ideal frothing.
- Attach the whisk attachment and set your mixer or processor to medium speed.
- Keep an eye on the froth, stopping once it reaches your desired volume and texture.
- Be aware that the stability of the froth depends on proper milk temperature, so avoid overheating, which can cause deflation or separation.
Following these steps ensures a creamy, stable froth perfect for your coffee drinks.
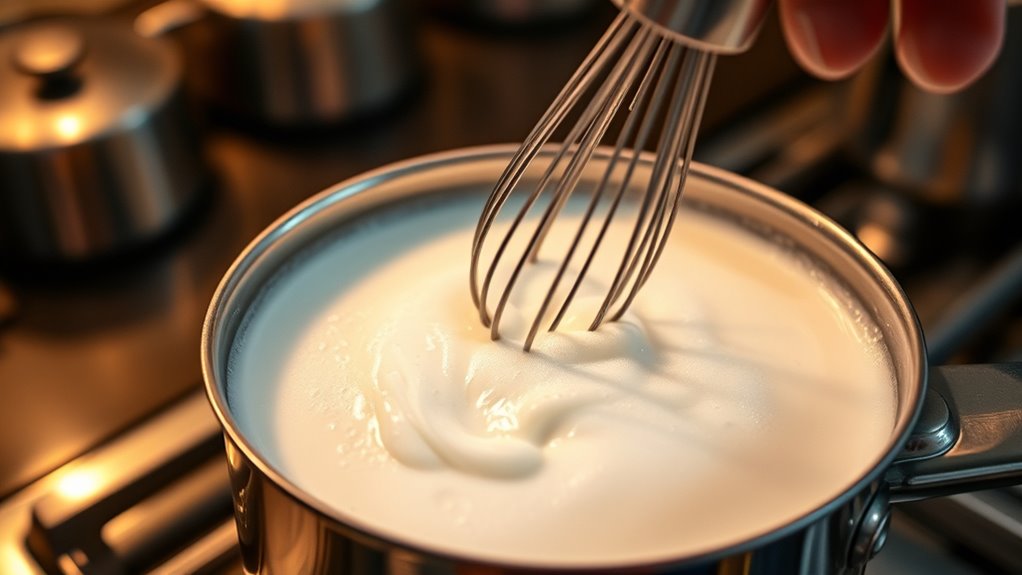
The Warm Milk and Whisk Technique for Velvety Texture
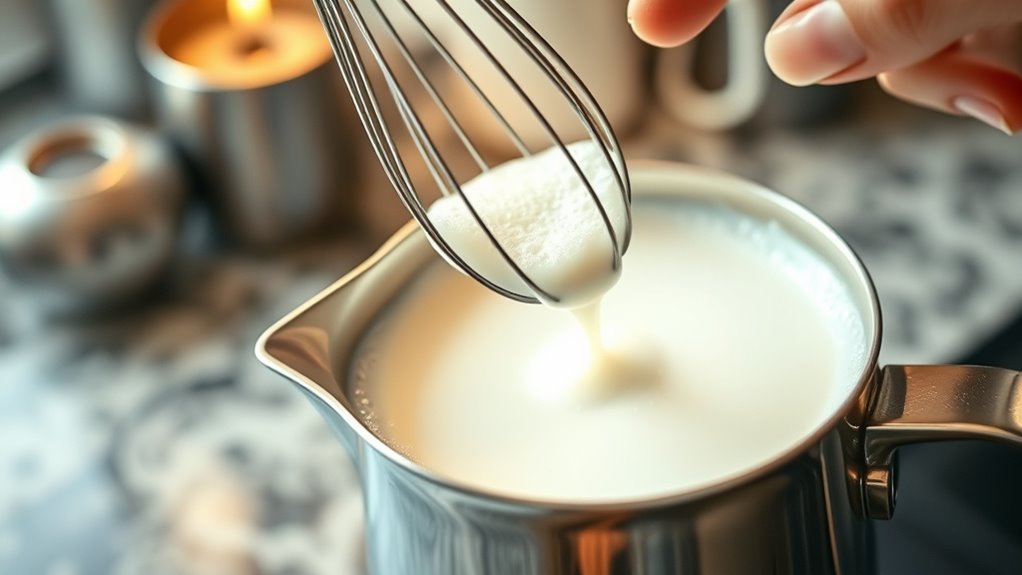
Warming milk before whisking it creates a smooth, velvety texture that enhances your coffee experience. Aim for a milk temperature around 140°F (60°C); it’s warm but not boiling. If it’s too hot, the milk can scald, and if it’s too cold, it won’t froth well. Once heated, hold the bowl or mug steady and start whisking. Use a brisk, consistent whisking speed to incorporate air efficiently—about 1,000 to 1,200 strokes per minute. Keep whisking until the milk develops a creamy, frothy layer with tiny bubbles. This method doesn’t require special equipment and gives you control over the texture. Adjust your whisking speed as needed to avoid splashing and to create the desired velvety finish.
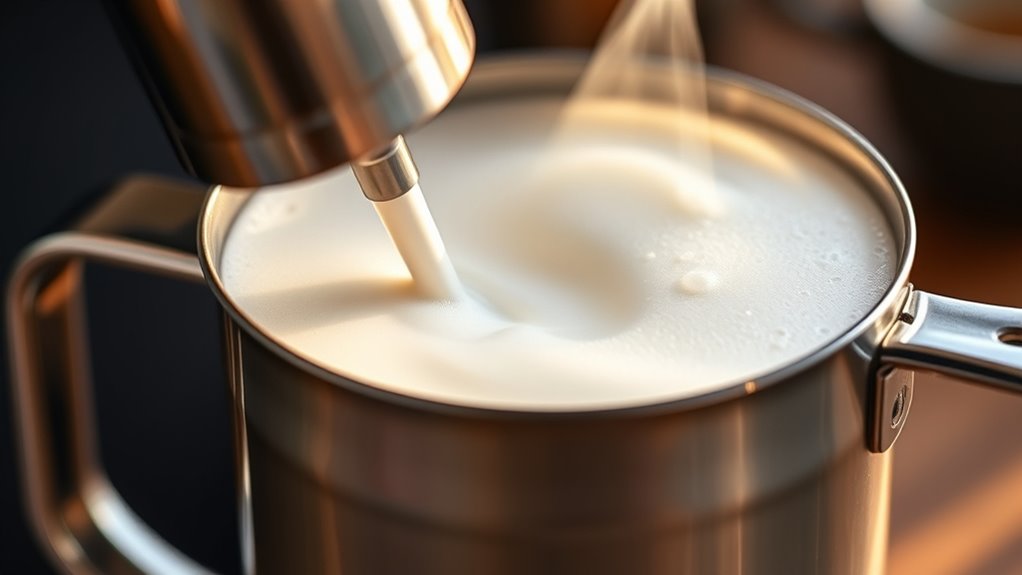
Using a Stovetop and Steam Wand Alternative
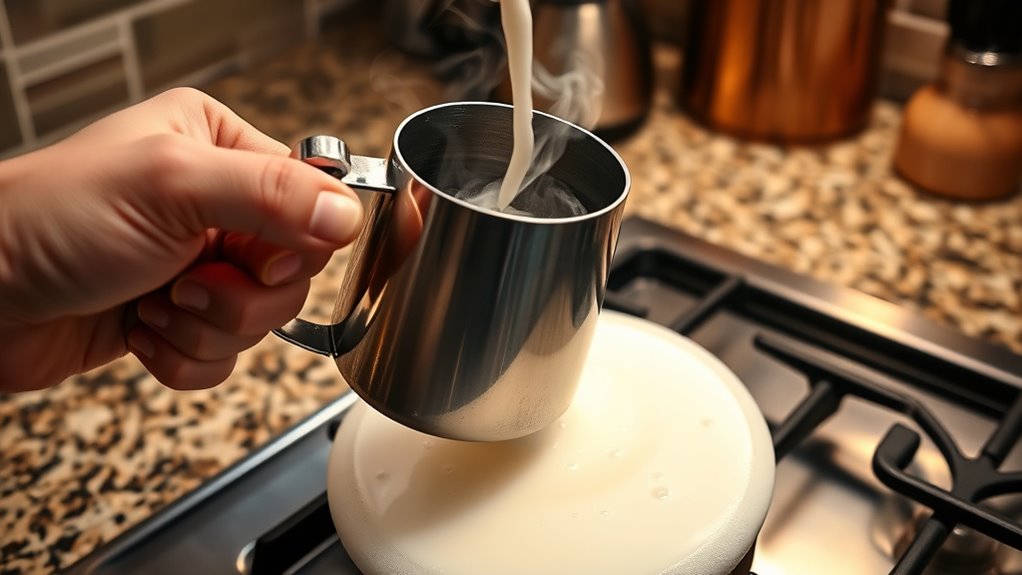
If you don’t have a whisk or prefer a different method, using a stovetop with a steam wand alternative can produce excellent froth. This method can help you achieve the right milk texture and foam stability without specialized equipment.
Here are four key tips:
- Use a small, deep saucepan to heat milk evenly.
- Create steam by heating water beneath a metal or silicone tube that acts as your wand.
- Submerge the tube just below the milk surface to introduce air and create foam.
- Keep the milk moving gently to develop stable foam and prevent burning.
This approach allows you to control foam quality and achieve a smooth, velvety froth suitable for lattes or cappuccinos, even without an espresso machine.
Frothing Milk With a Blender or Immersion Blender

Using a blender or immersion blender is an efficient way to froth milk at home, especially when you want quick, frothy results without specialized equipment. Simply pour warm milk into a tall container and blend on high for 20-30 seconds until it becomes frothy and doubles in volume. This method creates a creamy foam ideal for milk art, allowing you to craft intricate designs on your coffee. You can also experiment with flavor infusions by adding spices, vanilla, or cocoa powder before blending, enhancing your beverage’s taste. Be careful not to overblend, as it can turn the foam into liquid. This technique offers a fast, versatile way to elevate your coffee experience, making frothing effortless and enjoyable.
Achieving Perfect Foam With a Metal or Silicone Whisk
A metal or silicone whisk offers a simple yet effective way to create rich, creamy foam right in your own kitchen. To achieve perfect foam using a metal whisk or silicone whisk, keep these tips in mind:
- Use a clean, dry whisk to ensure smooth, stable froth.
- Submerge the whisk just below the milk’s surface to incorporate air efficiently.
- Whisk vigorously in a back-and-forth motion for about 30-60 seconds.
- Maintain a steady speed to avoid large bubbles and achieve microfoam.
A metal whisk provides durability and better heat resistance, while a silicone whisk offers flexibility and easier cleaning. Both tools help you control the frothing process, resulting in velvety foam ideal for your favorite drinks.
Tips for Getting the Best Froth and Microfoam Results
Getting the best froth and microfoam starts with selecting the right milk and preparing it properly. Use fresh, cold milk for better milk texture and more stable froth. Whole milk creates creamier, richer froth, while lower-fat options can produce lighter bubbles. Before frothing, gently shake or stir the milk to ensure even consistency. When frothing, aim for a smooth and velvety froth consistency—avoid large bubbles or thin foam. Keep your frothing tool just below the surface of the milk, then gradually submerge it to incorporate air evenly. Maintain steady motion and temperature control to achieve a glossy, microfoam texture. The key is patience and attention to detail, which will give you a beautifully textured milk perfect for any coffee drink.
Frequently Asked Questions
Can Non-Dairy Milk Be Frothed Effectively at Home?
Yes, non-dairy milk can be frothed effectively at home. You just need to choose the right non-dairy alternatives, like almond, soy, or oat milk, which froth well. Use simple frothing techniques such as shaking in a jar or using a whisk or handheld frother. Heat the milk slightly, then froth vigorously until you get a creamy, foamy texture perfect for your coffee or latte.
What Temperature Is Ideal for Frothing Milk Without an Espresso Machine?
You should aim for a milk temperature of around 140°F to 150°F for perfect frothing. Too hot, and the milk loses its silky texture; too cold, and it won’t foam well. Use gentle frothing techniques like a handheld whisk or a jar with a lid to achieve the desired microfoam. Keep a close eye on the temperature—once it hits that sweet spot, your froth will be just right.
How Can I Prevent Milk From Overflowing When Frothing?
To prevent milk from overflowing during milk steaming and frothing, keep a close eye on the milk level and don’t overfill your container. Use gentle, consistent frothing techniques, and start with cold milk. Keep the frothing wand or whisk just below the surface to create foam without splashing. Remove the container once the milk reaches your desired temperature, usually around 140-150°F, to avoid overflows and achieve smooth, velvety froth.
Is It Necessary to Use Whole Milk for Better Froth?
You don’t have to use whole milk for better froth; milk alternatives like almond, soy, or oat milk can also create a good froth texture. Keep in mind, some alternatives may produce lighter or less stable foam, but experimenting helps you find your favorite. Use cold milk and gentle frothing to improve the froth’s texture, regardless of the type you choose.
How Do I Store Leftover Frothed Milk for Later Use?
Don’t let your leftover frothed milk go to waste—store it properly to keep it fresh. Transfer the froth to an airtight container and keep it in the fridge, but use it within a day. When reheating, do so gently to prevent it from losing its texture. Keep in mind, reheating froth can be tricky, but with patience, you can enjoy it again without sacrificing too much quality.
Conclusion
Frothing milk at home is like crafting a tiny cloud—you just need the right tools and a little patience. I once struggled to get that perfect microfoam until I discovered using a French press; now, it’s my go-to. With these simple methods, you’ll turn ordinary milk into velvety foam in no time. Remember, practice makes perfect—soon, your homemade froth will rival any café’s. Cheers to creating your own milk masterpiece!